Thai Coconut Curry Soup

DSC_0901

The grossest thing ever recently happened to me. This is not in the least bit appetizing, but I just have to share because I’m still shocked that it happened and also I want to make sure none of you Milwaukee-ans go to this restaurant!! Dan and I were eating out at Thai-namite (on Brady St. in Milwaukee) which we normally really love. I’m a Thai food addict and this place was one of my favorites so we ate there about once a week (not exaggerating!). Well I was halfway through my usual dish, when I saw a WORM floating around in it!!!! A worm!!! It was disgusting!

The waiter seemed as horrified as we were and brought it to a woman who I assume was the manager. She nonchalantly apologized claiming it was probably on the basil leaves. Understandable, but don’t they wash them before putting them in customers’ food? She then offered to cook me something else, which I declined since I no longer had an appetite (I mean, really). Then she discounted us 25%. Can you believe it? 25% off for almost eating a worm. It was absolutely ridiculous. So if you live in Milwaukee, I would stay away from Thai-namite if I were you! I’m sure going to. Hooray Elephant Cafe on Farwell! Has anyone else ever had a bad experience like this at a restaurant?

Whew… sorry for my rant! Ironically, I have a Thai recipe for you today but don’t worry – all the ingredients are delicious.

DSC_0895

Learn how to make this simple, tasty Thai Coconut Curry Soup! It reminds me of a mixture between Thai red curry and chicken soup. I couldn’t stop eating it! It’s also easy to make because it doesn’t require much preparation.

DSC_0900

Begin the Thai Coconut Curry Soup by adding your ingredients into the crock pot. You will need:

1 14 oz can of coconut milk,

DSC_0886

DSC_0887

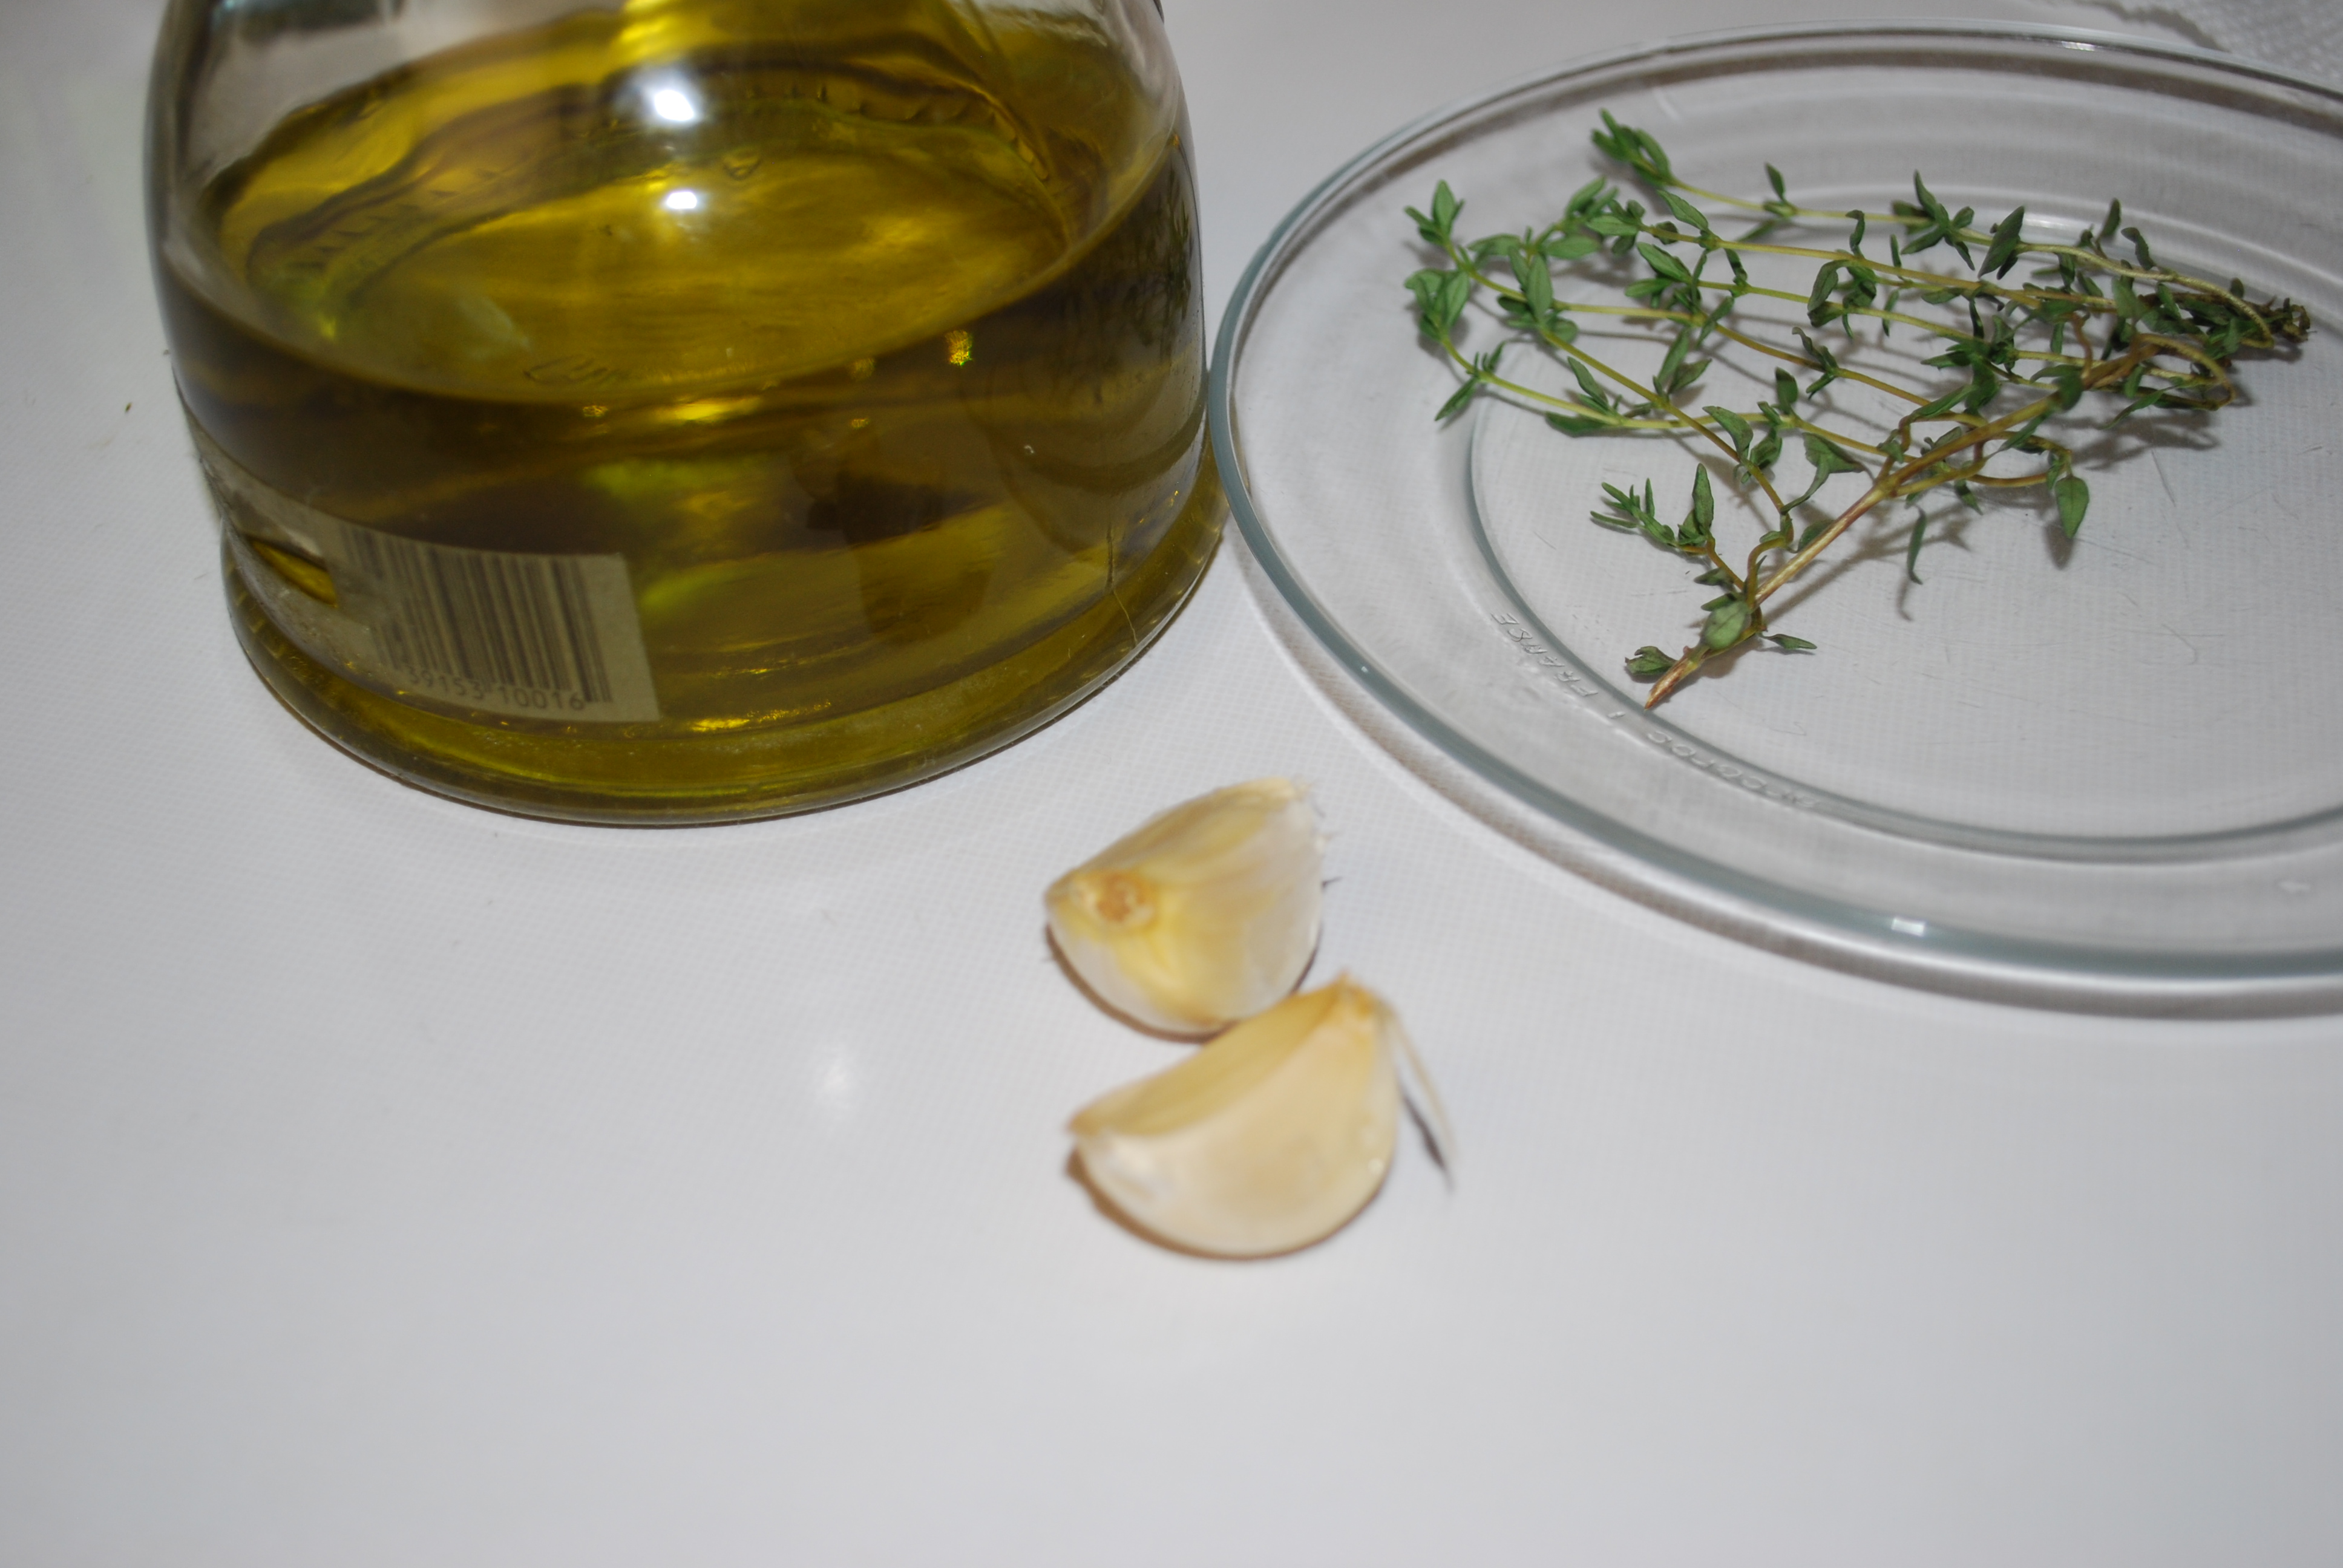
1 Tbsp Thai red curry paste (found in the Asian section of your grocery store),

DSC_0888

2 cups chicken broth,

DSC_0889

3/4 lb boneless, skinless chicken breasts (I put them in frozen),

4 oz sliced white mushrooms,

DSC_0890

2 lemongrass stalks, bruised,
To bruise lemongrass: 
Take the stalk, peel off the dry, outermost layers and discard. Cut off the lower bulb and discard as well. Cut the stalk into 2-3 inch lengths and lightly crush each with the side of a large knife. This will release the incredible flavor of the lemongrass into your soup!

DSC_0883

DSC_0884

DSC_0885

DSC_0891

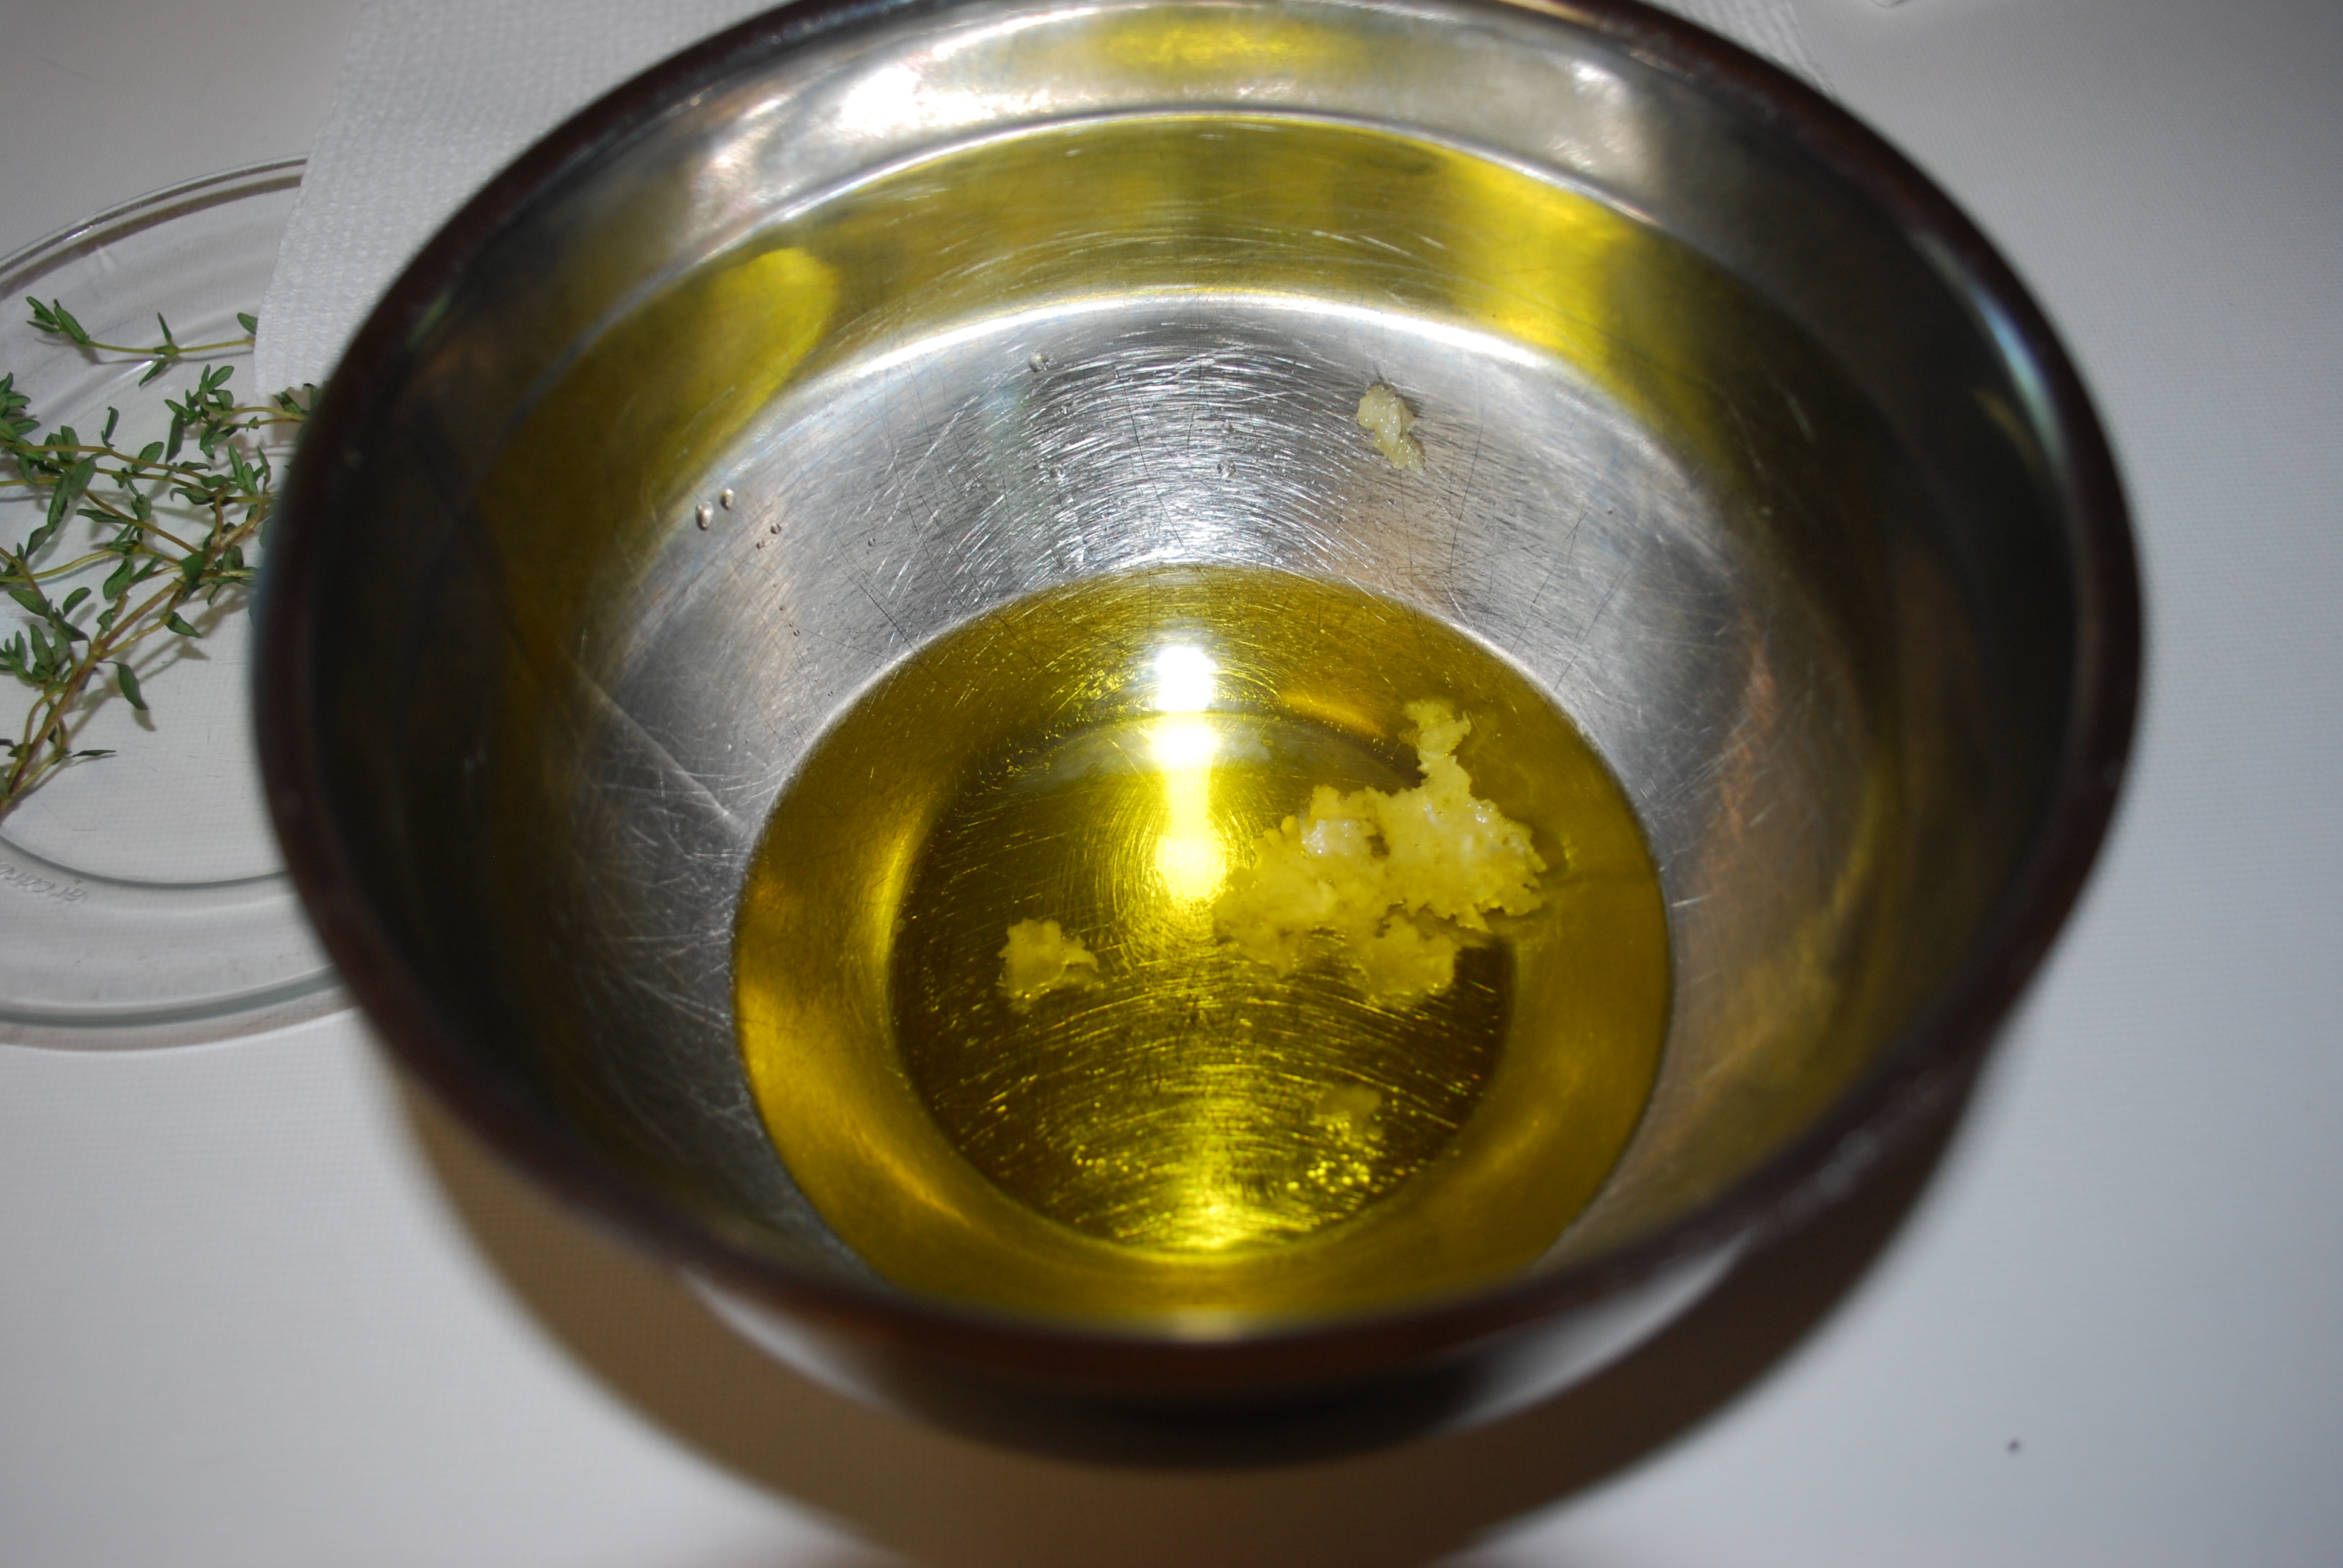
1 Tbsp minced fresh ginger,

and 1 8 oz can of bamboo shoots (drain first).

DSC_0892

Cover the crock pot and cook on LOW for 4 hours or on HIGH for 2-3 hours.

DSC_0893

When the chicken is cooked through and the soup looks ready, remove the lemongrass with a slotted spoon or a fork.

DSC_0894

Next, remove the chicken to a cutting board and slice into small pieces. Place the small pieces back into the crock pot.

Squeeze fresh lime juice to taste into the soup. I used 2 limes (approximately 3 Tbsp) but add more or less based on your preference. Add plenty of salt and pepper to taste.

DSC_0898

That is it! I told you it’s easy! You could easily modify this as well to add your favorite Thai ingredients. I think onions, baby corn, and bell peppers would be delicious!

DSC_0897

Thai Coconut Curry Soup
Adapted from 365 Days of Crockpot
Serves 6

Ingredients: 

1 14oz can coconut milk
1 Tbsp Thai red curry paste
2 cups chicken broth
3/4 lb boneless skinless chicken breasts
4 oz white mushrooms, sliced
2 lemongrass stalks, bruised (see directions for bruising above)
1 Tbsp minced ginger
1 8oz can sliced bamboo shoots, drained
Fresh lime juice to taste (~3 Tbsp or 2 limes)
Salt and pepper to taste

Directions: 

  1. Combine coconut milk, curry paste, broth, chicken, mushrooms, lemongrass, ginger, and bamboo shoots in crock pot.
  2. Cover and cook on LOW for 4 hours or HIGH for 2-3 hours.
  3. When soup is cooked, remove lemongrass with fork or slotted spoon. Remove chicken to cutting board and slice into small pieces or shred and return to crock pot.
  4. Add in lime juice to taste. Season with salt and pepper to taste.

DSC_0896

Posted in Appetizers, Asian Inspired Food, Crock Pot, Dinner, Healthy, Lunch, Sides, Soup, Uncategorized | Tagged , , , , , | Leave a comment

How to Decorate Sugar Cookies with Royal Icing

Halloween Cookies 003

Halloween Cookies 018

I have been having such a wonderful Fall! So far it’s been filled with things like apple picking, participating in a bloody mary and chili cook-off (just tasting),

Bloody Mary and Chili Competition 004

and hiking through the woods to see the colorful foliage.

Hiking October 2014 011

Hiking October 2014 015

Hiking October 2014 026

Hiking October 2014 031

I also made and decorated these Halloween sugar cookies!

Halloween Cookies 016

Halloween Cookies 013

Aren’t they adorable? It was my first time making these and though it was a bit time consuming, I really enjoyed decorating them. I have to admit that for my first attempt, these turned out pretty darned good!

Halloween Cookies 001

You’ll never buy sugar cookies from the grocery store again after you read this how-to and have the ability to make your own professional-looking sugar cookies.

Halloween Cookies 009

Halloween Cookies 011

Step 1: Bake the sugar cookies and let them cool completely before icing. The recipe I used for the cookies is below this how-to.

Halloween Cookies 001

Halloween Cookies 002

Halloween Cookies 003

Step 2: Gather your equipment and figure out what colors you will be using (for borders and designs and for flooding the middle). It will go a lot more smoothly if you have all of this prepared before you begin. Here is a list of the equipment I used:

  1. 12″ disposable pastry bags. You could use ziplock bags, but these are a lot easier and you can buy them in big packs if you bake a lot.
  2. Decorating tips. I used a size 3 tip for outlining the cookies and making the designs.
  3. Couplers. These keep the tips on the pastry bags and make it easier to transfer the tips to other bags.
  4. Squeeze bottles. I use these for the thin icing I flood my cookies with. It makes it a lot easier to control where the icing ends up and keeps it from dripping out when I’m not using it. You could also use a spoon or another pastry bag, but the squeeze bottles are a lot neater.
  5. Small bowls for different colors of icing.
  6. Toothpicks.

Step 3: Make the royal icing. I use Alton Brown’s recipe, which is:

  • 3 ounces pasteurized egg whites (the liquid kind in the carton)
  • 1 teaspoon vanilla extract
  • 4 cups confectioners sugar

With a stand mixer, beat the egg whites and vanilla until frothy then gradually add in the confectioners sugar and mix on low until the sugar is incorporated and the mixture is shiny. Turn the speed up to high and beat until the icing forms stiff, glossy peaks – about 5-7 minutes. Add more confectioners sugar if necessary. You don’t want the icing too liquidy at this point since you will be using it for the borders.

Step 4: Color the icing. Divide the icing into different containers for each color you will be using. I used gel coloring but any will work. Remember that a little bit goes a long way! The colors will also darken when the dry. After mixing the colors, place a damp paper towel over each bowl to keep the icing from drying out.

Step 5: Outline the cookies. Place the color icing you will be using in a pastry bag fitted with a coupler and tip (I use #3). Hold and squeeze the bag near the top with your dominant hand, and guide the tip with your non-dominant hand (thank you Martha Stewart for this tip!). Using this trick will give you much better control over the icing. Outline the cookies and wait until they dry to flood them. By the time I had outlined all of them, the first ones were already dry and ready to be flooded.

Halloween Cookies 009

Step 6: Flood the cookies. Take whatever color icing you want to fill the cookies with and slowly start adding drops of water into it until it forms an almost liquid consistency. You should be able to drizzle it easily, but just be careful not to make it too watery. Place the icing into a squeeze bottle then squeeze it onto the middle of the cookie, almost completely covering it. Use a toothpick to spread it out over any empty spots. The icing should look very smooth and even – if not, you may need to add another drop or 2 of water.

Halloween Cookies 008

Halloween Cookies 012

Step 7: Add designs. Let the cookies dry completely before adding any designs with icing. Wait at least a couple hours in order to avoid the colors bleeding. I used the same pastry bag and #3 tip that I used for the borders to make my designs. This is where you can be really creative and make them fun!

Halloween Cookies 013

Step 8: Let dry completely, then enjoy! 

Halloween Cookies 017

Halloween Cookies 020Halloween Cookies 021Halloween Cookies 025Halloween Cookies 022Halloween Cookies 023Halloween Cookies 024

I hope you’ll find these steps helpful! It is a little time consuming, so my suggestion is to spread it out over a couple days. Make the cookies one day and decorate them the next if you can.

Let me know how they turn out! I’d love to see your pictures!! 🙂

Halloween Cookies 002

Halloween Cookies 012

Sugar Cookies
Recipe from Baking: From My Home to Yours by Dorie Greenspan
Makes approximately 50 2-inch cookies

Ingredients:

2 cups all-purpose flour
½ teaspoon salt
½ teaspoon baking powder
1 stick plus 2 tablespoons (10 tablespoons) unsalted butter, at room temperature
1 cup sugar
1 large egg
1 large egg yolk
1 teaspoon pure vanilla extract

Optional: sugar and cinnamon for dusting (don’t use these if you will be icing cookies)

Directions: 

  1. Whisk the flour, salt and baking powder together.
  2. Working with a stand mixer fitted with a paddle attachment, or with a hand mixer in a large bowl, beat the butter at medium speed for a minute or so, until smooth. Beat in the sugar and continue to beat for about 2 minutes, until the mixture is light and pale. Add the egg and yolk and beat for another minute or two; beat in the vanilla. Reduce the mixer speed to low and steadily add the flour mixture, mixing only until it has been incorporated – because this dough is best when worked least, you might want to stop the mixer before all the flour is thoroughly blended into the dough and finish the job with a rubber spatula. When mixed, the dough will be soft, creamy and malleable.
  3. Turn the dough out onto a counter and divide it in half. Shape each half into a disk and wrap in plastic. Chill the dough for at least 2 hours. (Well wrapped, the dough can be refrigerated for up to 3 days or frozen for up to 2 months.)
  4. Getting Ready to Bake: Center a rack in the oven and preheat the oven to 350 degrees F. Line two baking sheets with parchment paper or silicone mats.
  5. Working with one packet of dough at a time, roll out the dough between sheets of plastic wrap or wax paper to a thickness of ¼ inch, lifting the plastic or paper and turning the dough over often so that it rolls evenly. Lift off the top sheet of plastic or paper and cut out the cookies. Pull away the excess dough, saving the scraps for re-rolling, and carefully lift the cutouts onto the lined baking sheets with a spatula, leaving about 1½ inches between the cookies. (This is a soft dough and you might have trouble peeling away the excess or lifting the cutouts; if so, cover the dough, chill it for about 15 minutes and try again.) After you’ve rolled and cut the second packet of dough, you can form the scraps into a disk, then chill, roll, cut and bake.
  6. Bake the cookies one sheet at a time for 9 to 11 minutes, rotating the sheet at the midpoint. The cookies should feel firm, but they should not color much, if at all. Remove the pan from the oven and dust the cookies with sugar or cinnamon sugar, if you’d like. Let them rest for 1 minute before carefully lifting them onto a rack to cool to room temperature.
  7. Repeat with the remaining dough, cooling the baking sheets between batches.

Storing: The cookies will keep at room temperature in a tin or container for up to 1 week. Wrapped well, they can be frozen for up to 2 months.

Royal Icing 
Recipe from Alton Brown 

Ingredients: 

3 ounces pasteurized egg whites (the liquid kind in the carton)
1 teaspoon vanilla extract
4 cups confectioners’ sugar
More confectioners’ sugar as needed

Directions: 

  1. Use a stand mixer to combine the egg whites and vanilla and beat until frothy.
  2. Gradually add confectioners’ sugar and mix on low speed until sugar is incorporated and mixture is shiny.
  3. Turn speed up to high and beat until mixture forms stiff, glossy peaks. This should take approximately 5 to 7 minutes. Add more confectioners’ sugar if needed.
  4. Add food coloring, if desired. Transfer to pastry bag for immediate use or store in airtight container in refrigerator for up to 3 days.

Halloween Cookies 015

Halloween Cookies 008

Posted in Desserts, Halloween | Tagged , , , , , , | 2 Comments

Crock Pot Pumpkin Chili

DSC_0881

Greetings! With the leaves starting to change colors, the wonderful Fall weather we’re having here, and the trip to an apple orchard I took last weekend, I’ve really been feeling in the Autumn spirit lately.

Apple Holler

Dan and I went to Apple Holler, an apple orchard about 30 minutes away from Milwaukee, to pick some apples and buy some fresh cider. We were happy to see that they have an abundance of apples this year and we picked tons of delicious looking Honeycrisps (my favorite!), Fujis, and Galas. I also got 1/2 a gallon of cider and a couple caramel/chocolate covered apples – my weakness.

Apple Holler 2

Apple Holler 3

We haven’t quite mastered the art of the selfie yet…

Apple Holler 4  Apple Holler 6

The best part had to be Dan asking the cashier for 5 gallons of cider amongst giggles from the staff and other customers. He’s brewing an alcoholic cider, but people definitely thought he was a little crazy/obsessed watching him carry all that back to his car.

Apple Holler 5

Has anyone else gone apple picking yet this year? Wondering what to do with all your apples? Try this Apple Crisp recipe I posted last year! It’s probably my favorite dessert to make – it’s super easy and I just love the brown sugar, oats, and apple combo.

Staying with the Autumn theme, I have an easy, mouthwatering Pumpkin Chili recipe for you that I feel epitomizes Fall cuisine and even better – it’s made in a crock pot!

DSC_0878

A little nervous about adding pumpkin puree to your chili? Don’t be! The pumpkin puree and spice just adds a pumpkin undertone to the flavor – it definitely doesn’t overpower it and it’s not sweet. It’s the perfect dish for a cool Fall evening.

Begin the Crock Pot Pumpkin Chili by dicing 1/2 of a large yellow onion and 1/2 of a red bell pepper. Set them aside.

DSC_0866
DSC_0864

Cook 1 pound lean ground turkey in a pot on medium heat until brown, then drain the juices out.

DSC_0867

Add the onion and bell pepper into the pot with the turkey and cook them for 5 minutes.

DSC_0868

Transfer the onion, bell pepper, and turkey into the crock pot.

DSC_0869

Add 1 (15 oz) can of drained and rinsed kidney beans,

DSC_0870

1/2 of a 46 oz can of tomato juice,

DSC_0871

1 (14 oz) can of peeled and diced tomatoes with juice,

DSC_0872

1/2 of a 15 oz can of pumpkin puree,

DSC_0873

and season with 1/2 tablespoon pumpkin pie spice, 1 tablespoon chili powder (adjust based on heat preference), and 1 tablespoon brown sugar.

DSC_0874

Mix them all together in the crock pot then add salt and pepper to taste.

DSC_0875

Cook on the low setting for 4-5 hours.

That’s it!

DSC_0882

Crock Pot Pumpkin Chili 
Serves 3-4
Adapted from http://www.momadvice.com

Ingredients: 

1 pound lean ground turkey
1/2 large yellow onion, diced
1/2 red bell pepper, diced
1 (15 oz) can kidney beans, drained and rinsed
1/2 of a 46 oz can of tomato juice
1 (14 oz) can peeled and diced tomatoes with juice
1/2 of a 15 oz can of pumpkin puree
1/2 tablespoon pumpkin pie spice
1 tablespoon chili powder (adjust based on heat preference)
1 tablespoon brown sugar
salt and pepper to taste

Directions: 

  1. In a pot over medium heat, cook ground turkey until brown then drain.
  2. Stir diced onion and bell pepper into the pot with the ground turkey and cook 5 minutes. Transfer ingredients into crock pot.
  3. Add beans, tomato juice, diced tomatoes, pumpkin puree, pumpkin pie spice, chili powder, and brown sugar into crock pot. Mix ingredients and season with salt and pepper to taste.
  4. Cook on low setting for 4-5 hours.

DSC_0877

I added another 1/2 tablespoon of chili powder when it was done because I like my chili on the spicier side, but the flavor of this chili is so great that it tastes just as good mild.

I am crazy about this chili! I love everything pumpkin and Fall related so I was delighted that this recipe lived up to my expectations. I hope you enjoy it!

Posted in Crock Pot, Dinner, Fall | Tagged , , , , , | Leave a comment

Grilled Vegetable, Herb, and Goat Cheese Sandwich

DSC_0861

Woohoo it finally feels like Fall!!! Don’t get me wrong, I love summer, but I can’t stand this hot, muggy weather anymore! Having a classroom without air conditioning makes it infinitely worse. Honestly, I feel a lot more physically and mentally drained by the end of the day when my classroom is above 80 degrees. Do any of you work or live without air conditioning? I’m sure you know how I feel!

Today, it was in the 50s/60s and it was glorious! I just love the Fall – crisp weather, beautiful colors, everything apple and pumpkin spice, and fun Fall activities! I get giddy just thinking about it!

In other classroom news, I currently have an ant infestation. Ew. We keep spraying them but they just keep coming back. They’re everywhere! I do, however, find it funny that my English class just began reading “Leiningen Versus the Ants” at the same time as my own war against the ants invading my room. It was not planned at all but is highly appropriate considering the circumstances. Hopefully the ants will be gone soon!

Now that I’m sure I’ve completely made you lose any sort of appetite you may have had with my talk of ant infestations (sorry!), I have an awesome sandwich recipe for you: Grilled Vegetable, Herb, and Goat Cheese Sandwich!

DSC_0857

Along with my last recipe (Crispy Chicken Tenders), this recipe also comes from Giada at Home (I may have binge-watched her show a wee bit over summer break…). I love this sandwich because I tend to get a little bored of sandwiches but this one felt really new and different from the usual sandwiches I eat. This garlicky sandwich has grilled veggies, tangy goat cheese, sun dried tomatoes, and crunchy spinach. I devoured it!

Here’s how to make it:

First heat up a grill or a grill pan to medium-high heat. Also take 1 cup of goat cheese out of the fridge to get it to room temperature.

While the grill is heating up, start making the herb mixture that you’ll use to coat the veggies and spread on the sandwich bread. Mix together 1/2 cup olive oil, 2 minced garlic cloves, 1 cup of oil-packed sun dried tomatoes that you drained and chopped finely, 1/2 cup chopped fresh basil leaves, 1 tablespoon chopped fresh tarragon leaves, 1 tablespoon chopped fresh thyme leaves, 1/2 teaspoon kosher salt, and 1/2 teaspoon freshly ground black pepper.

DSC_0836  DSC_0838 DSC_0839 DSC_0840 DSC_0841 DSC_0842

DSC_0843

Next, slice 2 (small-ish) zucchinis and 2 Japanese eggplants into 1/4 inch thick pieces. My grocery store didn’t have Japanese eggplants so I used 1 baby eggplant and 1 graffiti eggplant because that’s what I found and they were cheap. The original recipes says to cut them lengthwise, but I didn’t read that and cut them into rounds and that worked out great too.

DSC_0835

DSC_0837

Place 2 tablespoons of the olive oil-herb mixture into a medium bowl, add in the zucchini and eggplant slices, and toss until well-coated.

DSC_0844

Grill the vegetables for about 3-4 minutes per side, or until tender.

DSC_0845

DSC_0851

DSC_0852

While the veggies are cooking, take your 12 1/2 ounce baguette and slice it in half lengthwise.

DSC_0846

DSC_0847

Spread each half with the remaining olive oil mixture. I love how it soaked into the bread!

DSC_0848

Take your 1 cup of room temperature goat cheese and use a spatula to spread it over the olive oil mixture on both baguette halves.

DSC_0849

DSC_0850

When the vegetables are cooked, spread them out on top of the bottom half of the baguette.

DSC_0853

DSC_0854

Finally, arrange 1 1/2 cups of baby spinach on top of the vegetables. I left spinach off 1/3 of the sandwich because I shared this with my parents and my dad can’t eat spinach.

DSC_0855

DSC_0856

Place the top half of the baguette over the bottom to close the sandwich, then cut into 4 sandwiches.

DSC_0858

Mmmmm. I love everything about this sandwich! Look at all that delicious goat cheese.

DSC_0859

Grilled Vegetable, Herb, and Goat Cheese Sandwiches 
Recipe from Giada at Home

Serves 4

Ingredients: 

1/2 cup olive oil
2 cloves garlic, minced
1 cup oil-packed sun-dried tomatoes, drained and finely chopped
1/2 cup chopped fresh basil leaves
1 tablespoon chopped fresh tarragon leaves
1 tablespoon chopped fresh thyme leaves
1/2 teaspoon kosher salt
1/2 teaspoon freshly ground black pepper
2 small-ish zucchinis, sliced into 1/4-inch-thick pieces
2 Japanese eggplants, sliced into 1/4-inch-thick pieces
1 (12 1/2-ounce) baguette, sliced in 1/2 lengthwise
1 cup (6 1/2 ounces) goat cheese, at room temperature
1 1/2 cups baby spinach

Directions: 

  1. Heat a grill or a grill pan to medium-high heat.
  2. While the grill is heating up, make the olive oil spread. Mix together olive oil,  garlic, sun dried tomatoes, basil, tarragon, thyme, kosher salt, and ground black pepper.
  3. Slice 2 (small-ish) zucchinis and 2 Japanese eggplants into 1/4 inch thick pieces. Place 2 tablespoons of the olive oil-herb mixture into a medium bowl, add in the zucchini and eggplant slices, and toss until well-coated. Grill the vegetables for about 3-4 minutes per side, or until tender.
  4. While the vegetables are cooking, slice the baguette in half lengthwise. Spread each half with the remaining olive oil mixture. Use a spatula to spread the goat cheese over the olive oil mixture on both baguette halves.
  5. When the vegetables are cooked, spread them out on top of the bottom half of the baguette. Arrange the baby spinach on top of the vegetables. Place the top half of the baguette over the bottom to close the sandwich, then cut into 4 sandwiches.

DSC_0860

This is definitely not your average sandwich! There’s so much flavor and eating it really feels like a treat.

Posted in Grill, Lunch, Sandwiches | Tagged , , , , , , , , | Leave a comment

Crispy Chicken Tenders

DSC_0815

Hi everyone! Well school is back in session and summer is officially over (for us teachers at least). Tell that to the weather! The past week or so it’s been in the 80s and 90s and it has not been fun for those of us without air conditioning in our classrooms. It is definitely not an ideal condition for teaching/learning. I am looking forward to the arrival of Fall and the cooler weather that comes along with it. Not to mention that Fall is my favorite season! Can’t wait!

A few weeks ago I was watching “Giada at Home” and she made these delectable looking chicken tenders and I was eager to try them out at home. She has a way of making everything look so easy and delicious so I always end up pinning a ton of her recipes on Pinterest. This recipe did not disappoint. It was just as easy as it looked and tasted great! My only advice is to make these in a non-stick pan. I tried my first batch in a stainless steel skillet and the breadcrumbs were getting stuck to the bottom. My Teflon and ceramic pans worked great though!

Begin the Crispy Chicken Tenders by preparing the breading. Combine 3/4 cup panko bread crumbs, 1/2 packed cup fresh spinach, 1/2 cup grated parmesan, the zest of 1 large lemon, 3/4 teaspoon kosher salt, and 1/4 teaspoon freshly ground black pepper in a food processor. Blend until the spinach becomes very fine, then transfer to a bowl.

DSC_0804

DSC_0805

DSC_0806

Next, prepare your chicken by patting dry 1 pound chicken tenders and cutting them into 2 inch pieces.

DSC_0803

DSC_0808

In a different bowl than the breading mixture, pour in 3/4 cup buttermilk and place the chicken pieces into the buttermilk.

DSC_0807

DSC_0809

Use a slotted spoon or tongs to transfer the chicken into the breading mixture and toss until the chicken is coated with the breadcrumbs. I loved that they were green!

DSC_0810

DSC_0811

Heat 3/4 cup vegetable oil in a non-stick skillet over medium-high heat. When oil is hot, add 1/3 of the chicken and fry until crisp and golden (about 3 minutes per side). Remove chicken tenders onto a paper towel-lined plate and repeat with the remaining chicken tenders.

DSC_0812

DSC_0813

We served these with ketchup, barbecue sauce, and honey mustard but Giada also provided the recipe for a Piccata sauce.

DSC_0814


Crispy Chicken Tenders
Recipe from Giada at Home

Ingredients:

3/4 cup panko breadcrumbs
1/2 packed cup fresh spinach
1/2 cup grated Parmesan
Zest of 1 large lemon
3/4 teaspoon kosher salt
1/4 teaspoon freshly ground black pepper
1 pound chicken tenders, patted dry with paper towels and cut into 2-inch pieces
3/4 cup buttermilk
3/4 cup vegetable oil

Directions: 

  1. For breading: combine panko bread crumbs, spinach, parmesan, lemon zest, kosher salt, and freshly ground black pepper in a food processor. Blend until the spinach becomes very fine, then transfer to a bowl.
  2. Next, prepare your chicken by patting dry 1 pound chicken tenders and cutting them into 2 inch pieces.
  3. In a different bowl, pour in buttermilk and place the chicken pieces into the buttermilk. Use a slotted spoon or tongs to transfer the chicken into the breading mixture and toss until the chicken is coated with the breadcrumbs.
  4. Heat vegetable oil in a non-stick skillet over medium-high heat. When oil is hot, add 1/3 of the chicken and fry until crisp and golden (about 3 minutes per side). Remove chicken tenders onto a paper towel-lined plate and repeat with the remaining chicken tenders.

DSC_0816

These chicken tenders turned out to be a big hit. I loved the tangy flavor of the lemon zest and parmesan cheese and crunchy texture of the panko breadcrumbs. I hope you’ll give this recipe a try!


Posted in Dinner, Lunch, Uncategorized | Tagged , , , , , | 2 Comments