Chevre and Sun-dried Tomato Margarita Pizza

What a weekend! Unfortunately, the Golden Eagles played horribly and lost 😦  but we still had a great time at the game. The half-time show was the best part; check out the Olate Dogs! The clip isn’t from the Marquette game, but it’s very similar to the show they put on for us. It was amazing!!!

Even though Marquette lost, I’m a HUGE Chicago Bears fan and they beat the Ravens in overtime today, despite a 2 hour delay due to tornadoes and severe weather in Chicago! The cherry on top was that not only did we win, but both the Lions and Packers lost (sorry if you are a Lions or Packers fan)!! Wooo!

Enough about sports. I have a recipe today that is inspired by one of my favorite restaurants in Milwaukee: Balzac. It’s a wonderful wine bar and restaurant on Brady Street that has wine on tap and a menu with appetizers and small plates.
http://www.balzacwinebar.com/

They have a great selection of wine, but the main reason I go at least twice a month is the food. Every single time I get the Margarita Pizza, which has chevre spread, fresh basil, sun-dried tomato, roma tomatoes, and mozzarella. It’s incredible! Tangy chevre, tart tomatoes, and a crispy thin crust make this pizza a masterpiece. I just knew I had to recreate it at home.

DSC_0858

So here is my version of one of my favorite pizzas: Chevre and Sun-dried Tomato Margarita Pizza.

First, preheat your oven to 350. Then start with the dough. I use Trader Joe’s 100% Whole Wheat Pre-made Pizza Dough. It’s delicious and really easy to use. It also freezes very well. I always buy a package of it, then separate it into halves and freeze each half for later use. Lightly flour and roll out 1/2 pound (1/2 the package) of dough in a wax paper-lined baking sheet or pizza pan.

This another area where I lack due to my twenty-something tiny apartment kitchen: I don’t have a rolling pin! So instead I just rolled out the dough with my hands and honestly it worked out just fine. The dough ended up nice and thin and crispy.

Brush your dough with some extra virgin olive oil.

DSC_0852

Now add the toppings: 2 ounces of chevre, 2 ounces of mozzarella (I used little mozzarella pearls since that’s what I had in my fridge), 1 handful of sun-dried tomatoes, 1 diced roma tomato, and 2 chiffonade basil leaves.

DSC_0854

Put your pizza in the oven and bake 10-12 minutes, or until the crust is golden-brown and the cheese is golden and bubbly.

DSC_0857

Let the pizza cool a bit, cut, then serve!

DSC_0862

I LOVED this pizza – the crust was nice and crispy and all of the ingredients worked really well together!

DSC_0861

Chevre and Sun-dried Tomato Margarita Pizza
Makes 1 individual pizza

Ingredients: 

1/2 pound Trader Joe’s 100% whole wheat pre-made pizza dough (1/2 a package)
Extra virgin olive oil
2 ounces chevre
2 ounces mozzarella
1 handful sun-dried tomatoes
1 diced roma tomato
2 chiffonade basil leaves

Directions: 

Preheat oven to 350 degrees F. Lightly flour and roll out dough in wax paper-lined baking sheet. Brush dough with olive oil. Top with chevre, mozzarella, sun-dried tomatoes, 1 diced roma tomato, and 2 chiffonaded basil leaves. Bake for 10-12 minutes or until the crust is golden-brown and the cheese is golden and bubbly.

DSC_0869

The addition of chevre and sundried tomatoes really brings this margarita pizza to the next level.

Posted in Appetizers, Dinner, Uncategorized | Tagged , , , , , | Leave a comment

Bruschetta with Fresh Tomato and Basil

DSC_0840

Who’s ready for the weekend? I sure am! I have Marquette Basketball season tickets so on Saturday I will be at the game cheering for them against Ohio State. Go Golden Eagles! I will also be cooking and blogging so you can look forward to some more posts coming up this weekend. 

With the holidays on their way, I have a very simple but delicious appetizer recipe for you: Bruschetta with Fresh Tomato and Basil
                         DSC_0844      
There are lots of bruschetta recipes out there and some of them are extremely complicated. This one is not at all. I believe with ingredients this good and fresh, why complicate things? You can make a simple bruschetta that tastes wonderful and fresh and looks just as impressive. 

DSC_0850

First, start with a baguette. Cut 6 slices. 

DSC_0786

DSC_0787

Brush both sides of each slice with olive oil, then place onto a foil-lined baking sheet and broil. 

DSC_0814

Once one of the sides is charred, flip the bread slices over and brown the other sides. Be careful not to keep them under the broiler too long – they toast very quickly! 

DSC_0817

Take them out of the oven, then once they cool a bit, crush a clove of garlic and rub it onto both sides of each toast. A little bit goes a long way! 

DSC_0818

Next, work on the tomatoes.

DSC_0790

Take 1 of your tomatoes, hold it stem-side up, and slice down one of the sides, cutting the flesh of the tomato away from the seeds.

DSC_0791

Repeat until all the flesh has been removed from the ball of seeds in the middle. Repeat with the 2nd tomato. 

DSC_0792

DSC_0793

Dice each tomato slice, then place into a bowl. 

DSC_0795

DSC_0796

DSC_0797

Next, take 3 basil leaves (I only used 2 because one of mine went bad).

DSC_0799

Stack them on top of each other.  

DSC_0800

Then roll them into a cigar.

DSC_0801

Use a sharp knife to thinly slice the cigar.  

DSC_0802

You will end up with thin strips of basil.

DSC_0805

Add the basil to the diced tomatoes, then toss them with some olive oil and a sprinkle of salt. 

DSC_0808

DSC_0810

And that is it! Serve the tomato and basil in a bowl next to the bruschetta and provide a spoon to scoop the topping onto your toasts! 

DSC_0845


Bruschetta with Fresh Tomato and Basil 

Ingredients: 

6 slices of French bread 
1 garlic clove
2 roma tomatoes 
3 large basil leaves 
Extra virgin olive oil 
Salt 

Procedure: 

  1. Preheat broiler. Slice bread and brush each side with olive oil. Place bread slices on foil-lined baking sheet. Place baking sheet under broiler and broil until one side is browned, then flip the slices and brown the other sides. Be careful not to burn the bread – it only takes a couple minutes under the broiler! Peel and crush a piece of garlic, then rub each side of the toasts with the piece of garlic. 
  2. Seed and chop 2 roma tomatoes and place in bowl. Chiffonade fresh basil by stacking the leaves, rolling them into logs, then thinly chop to create thin strips. Add the basil to the tomatoes then toss with some olive oil and a sprinkle of salt. Serve tomato and basil mixture with the toasts. 

DSC_0849

DSC_0847

Posted in Appetizers, Dinner, Lunch | Tagged , , , , , | 1 Comment

Salted Caramel Chocolate Chip Cookies

760

Oh la la! (Or should I say “snow la la!” – I’m sorry… that was horrible. Don’t leave!) It’s like a winter wonderland out there! Well… minus the brightly colored leaves still on the trees…

I have to say, I didn’t check any weather forecasts and had absolutely no idea it was going to snow today so imagine my surprise when I looked outside my classroom window, only to see copious amounts of flurries! It was very pretty… that is until I had to scrape the ice and snow off my car after school. Oh the things we midwesterners put up with!

Though I’m not quite ready for Winter, I must say we did have an incredibly beautiful Fall here. The weather was gorgeous most of the time, the colors exceptionally vibrant, and I felt like it lasted long enough for me to really enjoy it. Hopefully it’ll come back again for a little bit so I can enjoy it juuuuust a little longer.

Today I have a scrumptious cookie recipe for you – Salted Caramel Chocolate Chip Cookies. I may have eaten 6 last night…

763

First, you need to know my background with salted caramel. Obsessed isn’t a strong enough word to describe how much I love it. I mentioned in a couple other posts that I spent some time in France. Well the city I lived in, Nantes, is famous for it’s caramel au beurre salé. I spent SO much money on caramels, caramel sauce, and pretty much anything with caramel on it. When I spotted these cookies on Pinterest, I knew I just HAD to have them. The best part: they are even better than they look! I love when that happens.

752

Start out with 2 cups and 2 tablespoons of flour and 1/2 teaspoon baking soda. Mix and set aside.

736

In a different bowl, cream 3/4 cup (1.5 sticks) room temperature salted butter, 1 cup light brown sugar, and 1/2 cup sugar. I creamed my butter the old fashioned way: I sliced the butter into cubes, placed it into the bowl, then mashed it with a wooden spoon until it was soft. Then I added the sugar and mashed it into the butter with a fork. Finally, I used my wooden spoon to stir the mixture until it was light and fluffy. Be careful not to overcream!
002
Next, add in 1 egg, 1 egg yolk, and 2 teaspoons vanilla extract. Make sure your eggs are room temperature before you add them. Mix well.

003

Add in the flour mixture gradually and stir until a dough forms. Be careful not to overmix the dough!

005

Finally fold in 3/4 cup semi-sweet chocolate chips.

746

Chill the dough in the fridge for at least 30 minutes. You could also chill it overnight. While the dough is chilling, prepare your wax paper-covered baking sheet. Also, you can go ahead and chop your caramels. Take 16 caramels, and cut them into 5 pieces each.

740

741

742

743

Preheat your oven to 325 degrees F. Place tablespoonfuls of the dough onto the baking sheet, being careful not to crowd.

744

Flatten the cookies a little, then press 2 or 3 pieces of caramel into each cookie. Make sure to keep the caramel towards the center of the cookie so the caramel doesn’t spill out onto the baking sheet and harden.

747

Bake the cookies for approximately 10 minutes, or until the edges are golden (check them occasionally to make sure the caramel isn’t bubbling over).

748

As soon as you pull the cookies out of the oven, sprinkle them with sea salt. Let them cool, then enjoy!

749

750

758

767

Salted Caramel Chocolate Chip Cookies
Adapted from Culinary Chat  / Sally’s Baking Addiction   (this blog has TONS of wonderful recipes for baked goods!)

Makes 3 dozen cookies

Ingredients:

2 cups + 2 tablespoons all-purpose flour
1/2 teaspoon baking soda
3/4 cup (1.5 sticks) salted butter, room temperature
1 cup brown sugar
1/2 cup sugar
1 egg, room temperature
1 egg yolk, room temperature
2 teaspoons vanilla extract
3/4 cup semi-sweet chocolate chips
16 wrapped chewy caramels, cut into 5 pieces each
sea salt

Procedure: 

  1. Mix the flour and baking soda in a bowl, then set aside.
  2. In a different bowl, cream the butter, brown sugar, and sugar together until light and fluffy. Mix in the egg, egg yolk, and vanilla. Add the flour and baking soda mixture gradually and stir to form a dough. Be careful not to overmix the dough. Fold in the chocolate chips.
  3. Chill dough for at least 30 minutes in the fridge. You could also refrigerate overnight. While the dough is chilling, take 16 caramels and cut them into 5 pieces each.
  4. Preheat oven to 325 degrees. Line a baking sheet with wax paper and place 12 tablespoonfuls of the chilled dough onto the sheet. Flatten the cookies a bit then press 2 or 3 pieces of caramel into each. Make sure the pieces of caramel aren’t too close to the edge so they don’t bubble and drip off the cookie while baking. Place unused cookie dough back in the fridge to keep it chilled. Bake the cookies for about 10 minutes or until the edges are slightly golden and the caramel is melted. Sprinkle sea salt onto each cookie as soon as you pull them out of the oven.

761

I was a little nervous that the caramel was going to harden on the cookies the next day, but I kept them in airtight containers and both the cookies and caramel in the cookies stayed nice and soft.

762

These are delicious!

769

770

Posted in Desserts | Tagged , , , , | Leave a comment

Breakfast Burrito

I love breakfast. A lot. An obscene amount, really.

Any time of day. Sure, I do love a nice breakfast when I wake up in the morning or brunch after sleeping in on the weekends, but I have also been known to occasionally make bacon and eggs for dinner. I just really enjoy breakfast food – it’s my favorite!

My go-to breakfast foods are usually scrambled eggs and bacon, omelets, pancakes, smoothies, or oatmeal, but today I tried something a little bit different: a breakfast burrito.

011

Start with 1/2 a yellow onion. Chop the onion, then add it into a skillet with a tablespoon of extra virgin olive oil on medium-high heat.

001

Add a peeled and shredded potato. You can use whatever potato you have lying around – I used a red potato, which I peeled then shredded with my grater. I squeezed the potato shreds afterwards to get rid of some of the excess water, then added them into the skillet with the onions.

002

Season with pepper, then cook the potato and onion until tender.

004

While the onion and potato are cooking, whisk together 2 eggs, 4 egg whites, and pepper.

003

When the potato and onions are tender, add in the egg mixture and scramble in the pan until cooked.

005

006

Warm up 2 flour tortillas in the microwave for 15 seconds then divide the egg mixture into the two tortillas.

007

Top with some shredded cheddar.

008

Roll the tortilla up and enjoy!

009

Breakfast Burrito
Makes 2 burritos

Ingredients:

1/2 yellow onion, chopped
1 small potato, shredded and squeezed to get rid of excess water
1 Tbsp extra virgin olive oil
2 eggs
4 egg whites
Pepper
2 flour tortillas
~1/4 cup shredded cheddar

Directions: 

  1. Saute onion and potato in 1 tbsp extra virgin olive oil until tender.
  2. While onions and potatoes are cooking, whisk together eggs, egg whites, and pepper
  3. Add egg mixture into skillet with onions and potatoes.
  4. Heat tortillas in the microwave for 15 seconds. Divide the egg mixture into the tortillas.
  5. Top with shredded cheddar, then roll tortillas.

Tip: These are great to freeze for a quick breakfast or lunch when you don’t have time to make one!

010

These would also be really good with some salsa on the side!

013

Posted in Breakfast | Tagged , , , , , | Leave a comment

French Onion Soup Potstickers

Growing up, there was a restaurant nearby that I went to all the time called Fusion Land. It specialized in cuisine that was both Asian and American inspired – hence the “fusion” in the name. My favorite dish was the teriyaki chicken burger – baked chicken smothered in teriyaki sauce, sandwiched in between a piece of crunchy lettuce and a fluffy bun. It was so good! Though the restaurant is now closed, I still love the idea of fusion cuisine. Here is a recipe for the perfect Asian-American fusion meal: French Onion Soup Potstickers.

Yes, you heard that correctly… French onion soup in potsticker form! It’s the best of both worlds! I’ve tried this recipe a few times and they’ve come out great every time.

Let me walk you through it…

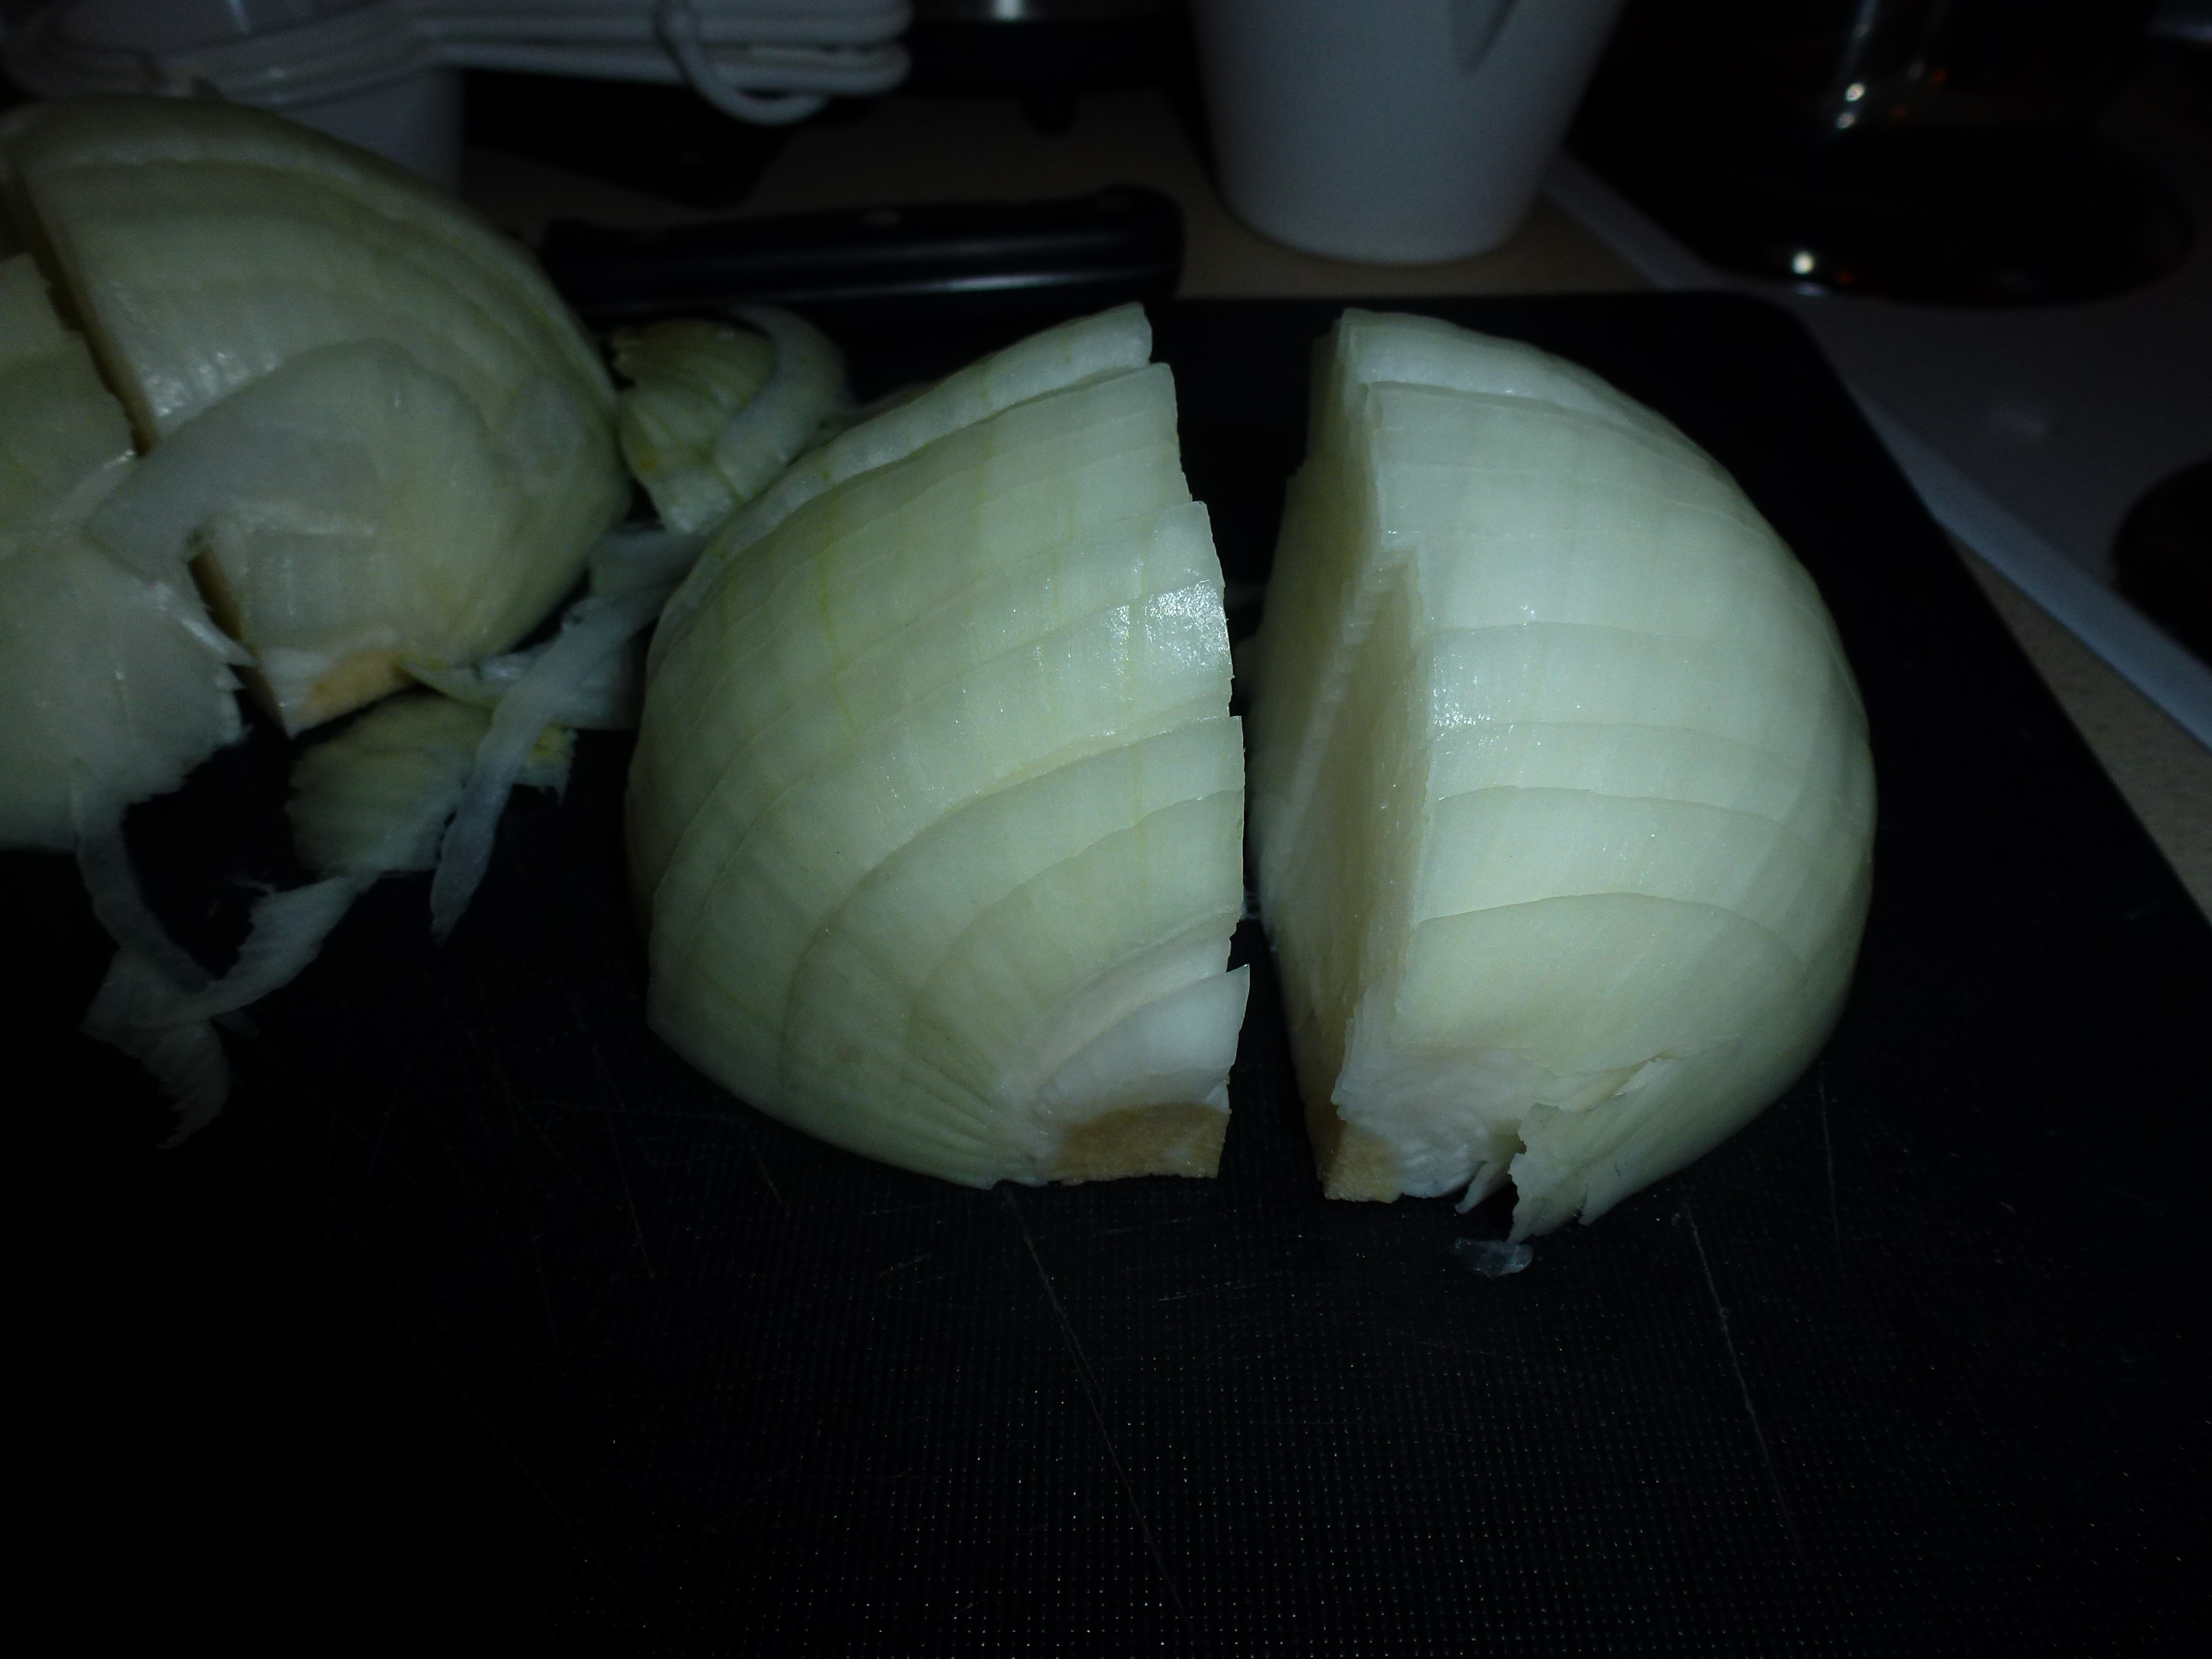
First, take 1 jumbo sweet onion. Cut it in half, then cut each half in half, then thinly slice each quarter.

213

The original recipe called for 2 jumbo sweet onions, but I could only fit one in my pan! Even with 1 jumbo onion (those sweet onions are huuuuuge!) I still made over 20 potstickers. But feel free to add another onion if your pan is big enough.

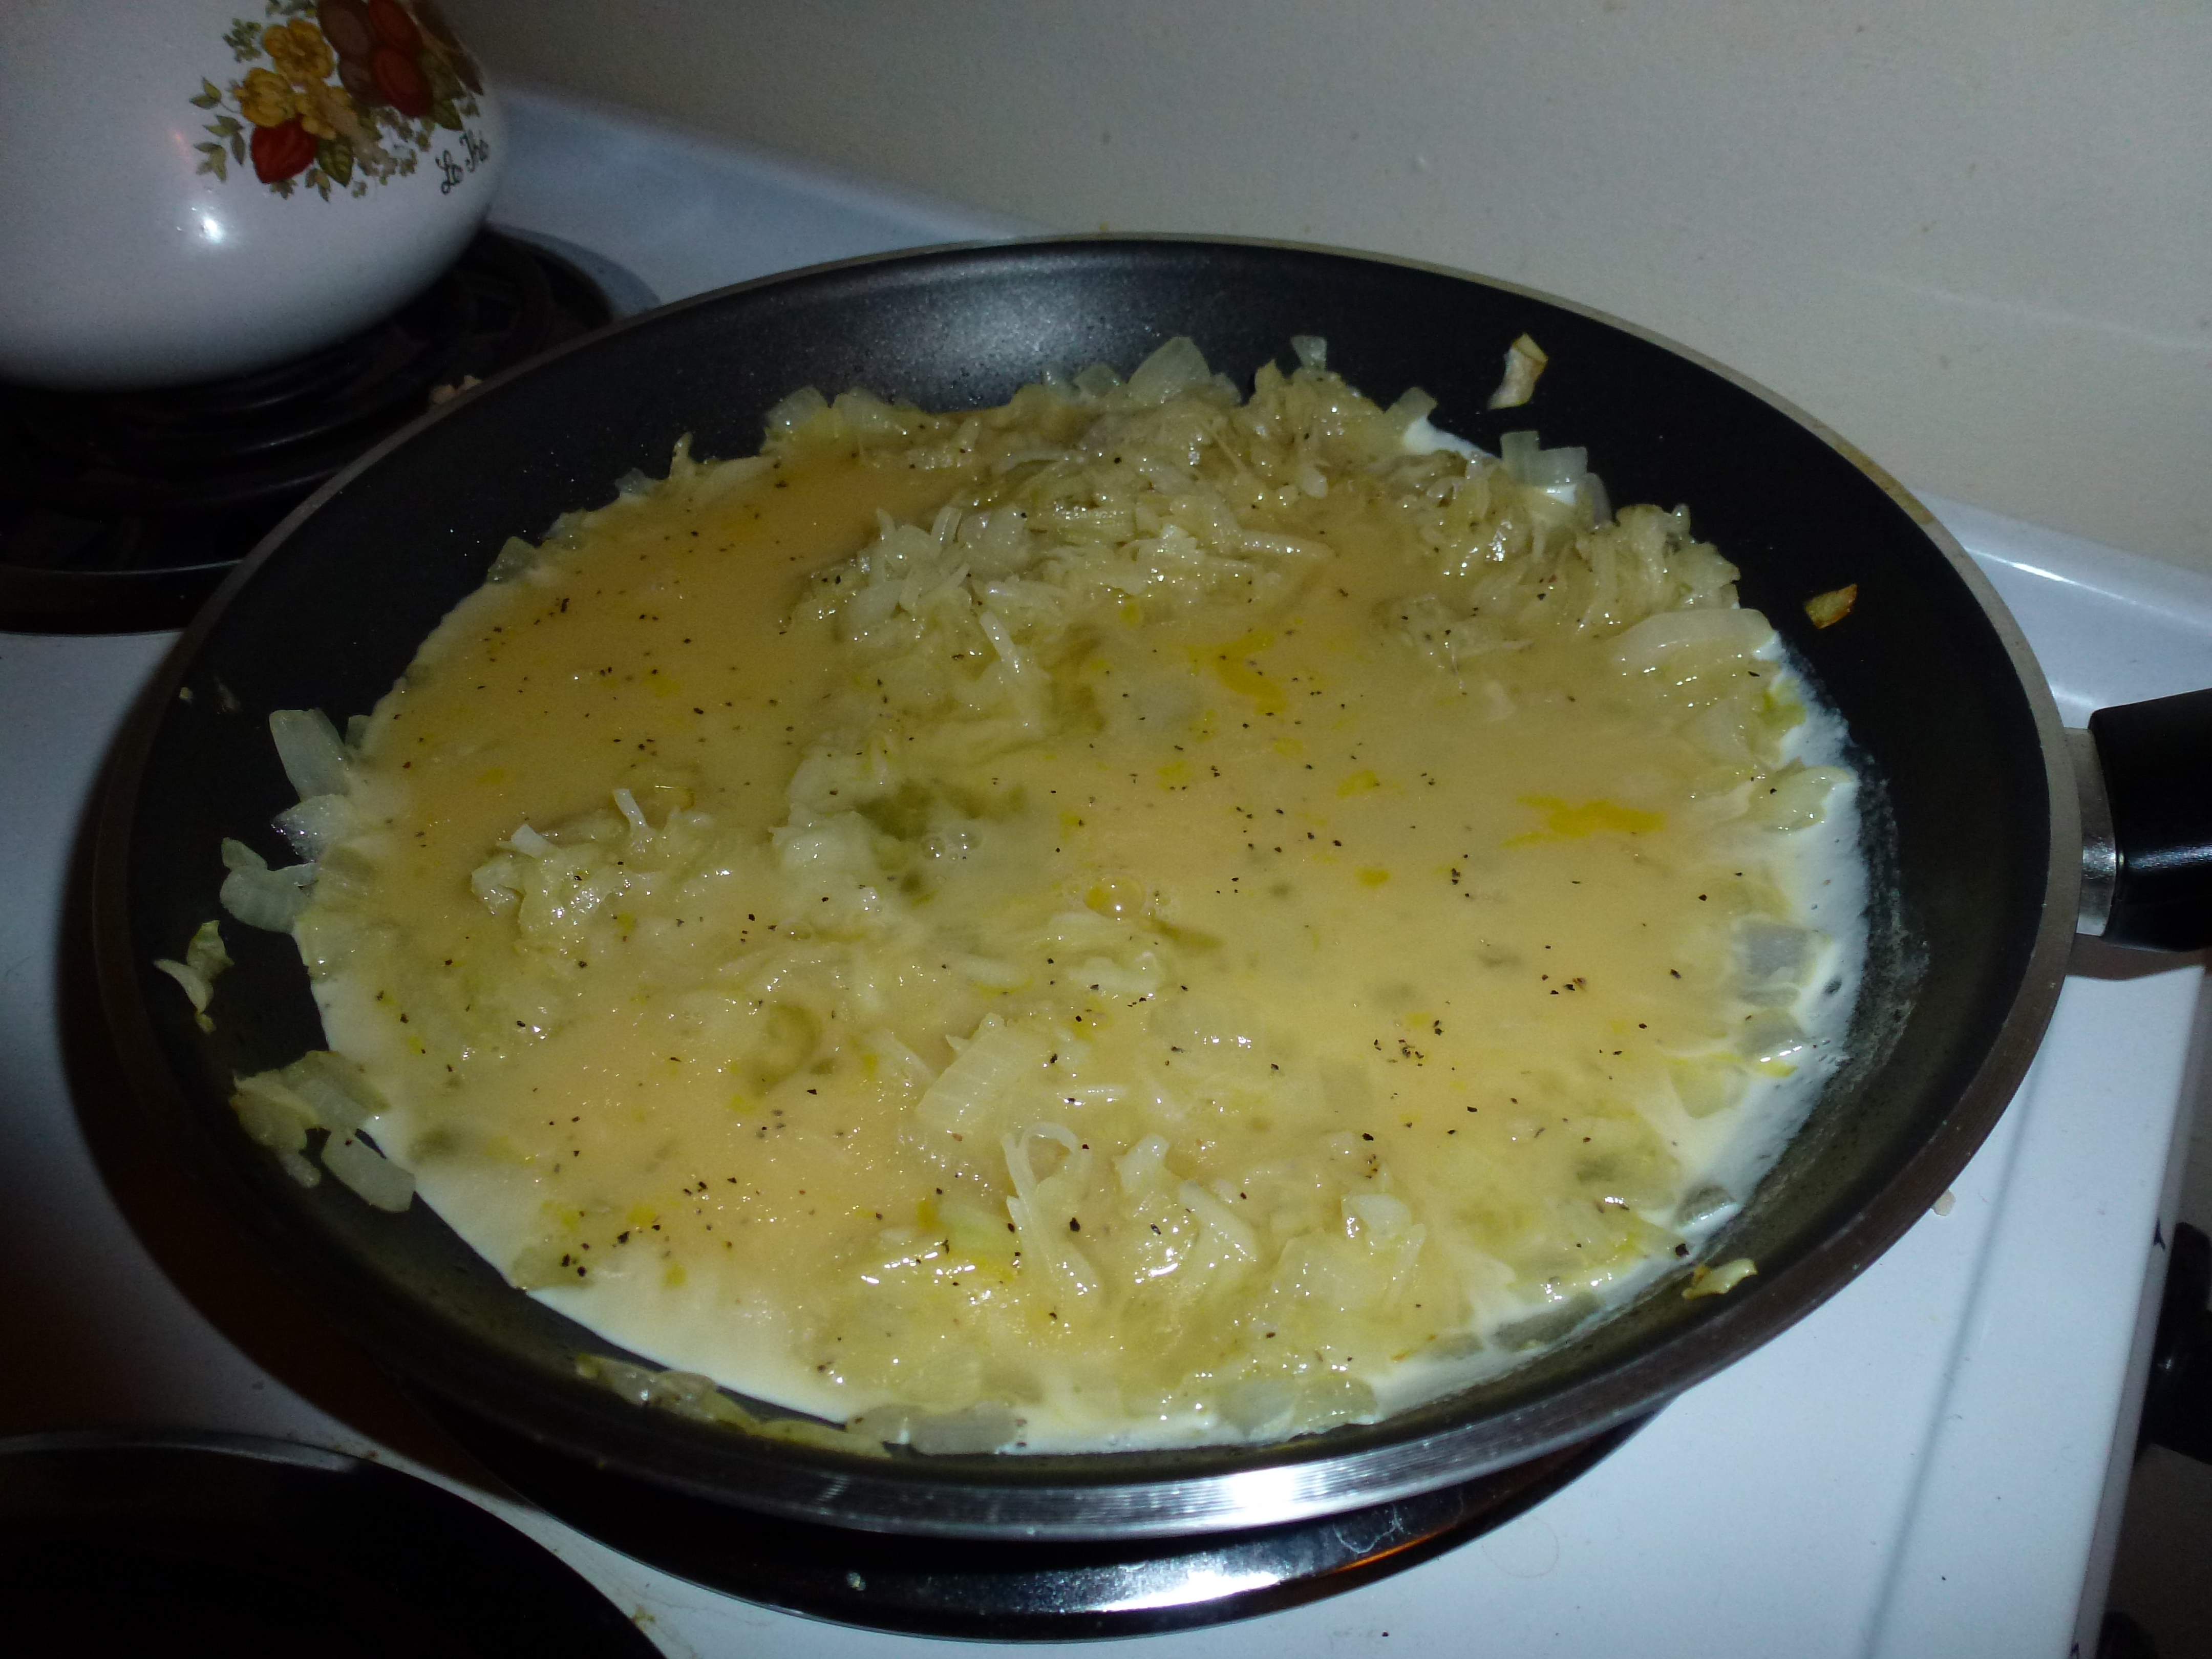
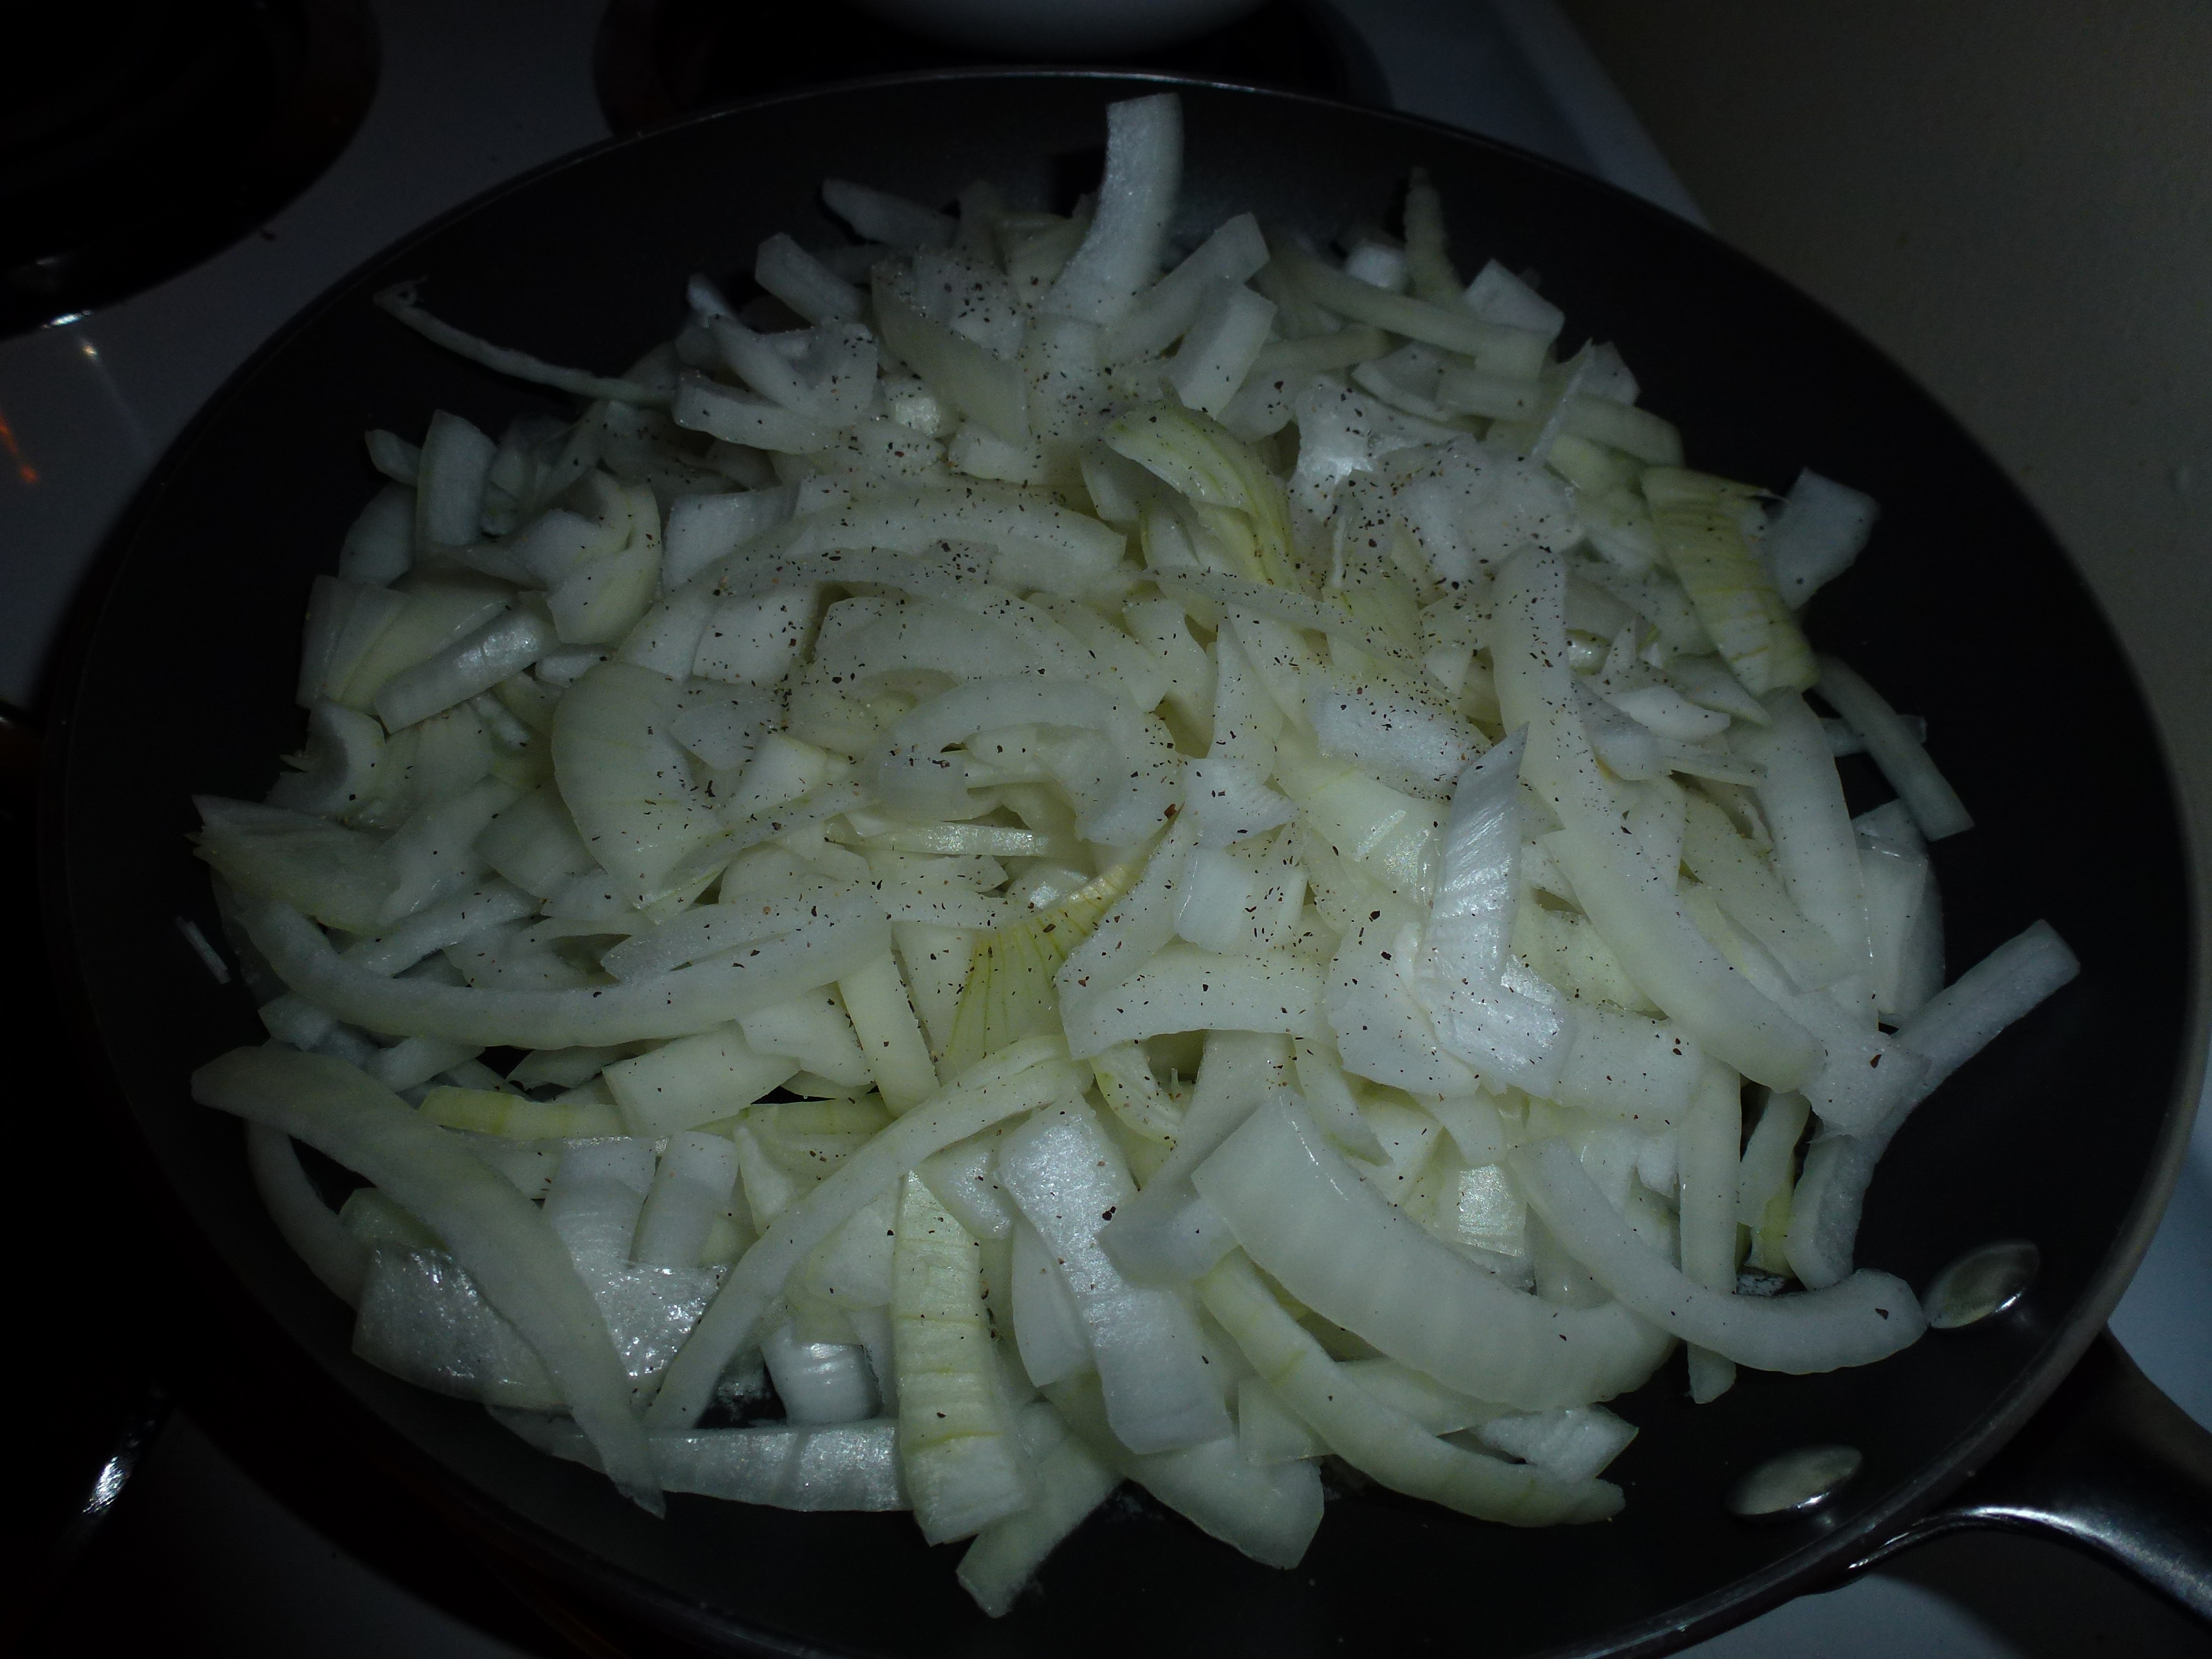
Add the onions into a large skillet with 1 tablespoon butter and 1 tablespoon extra virgin olive oil. Season with salt and pepper and cook over medium heat.
214

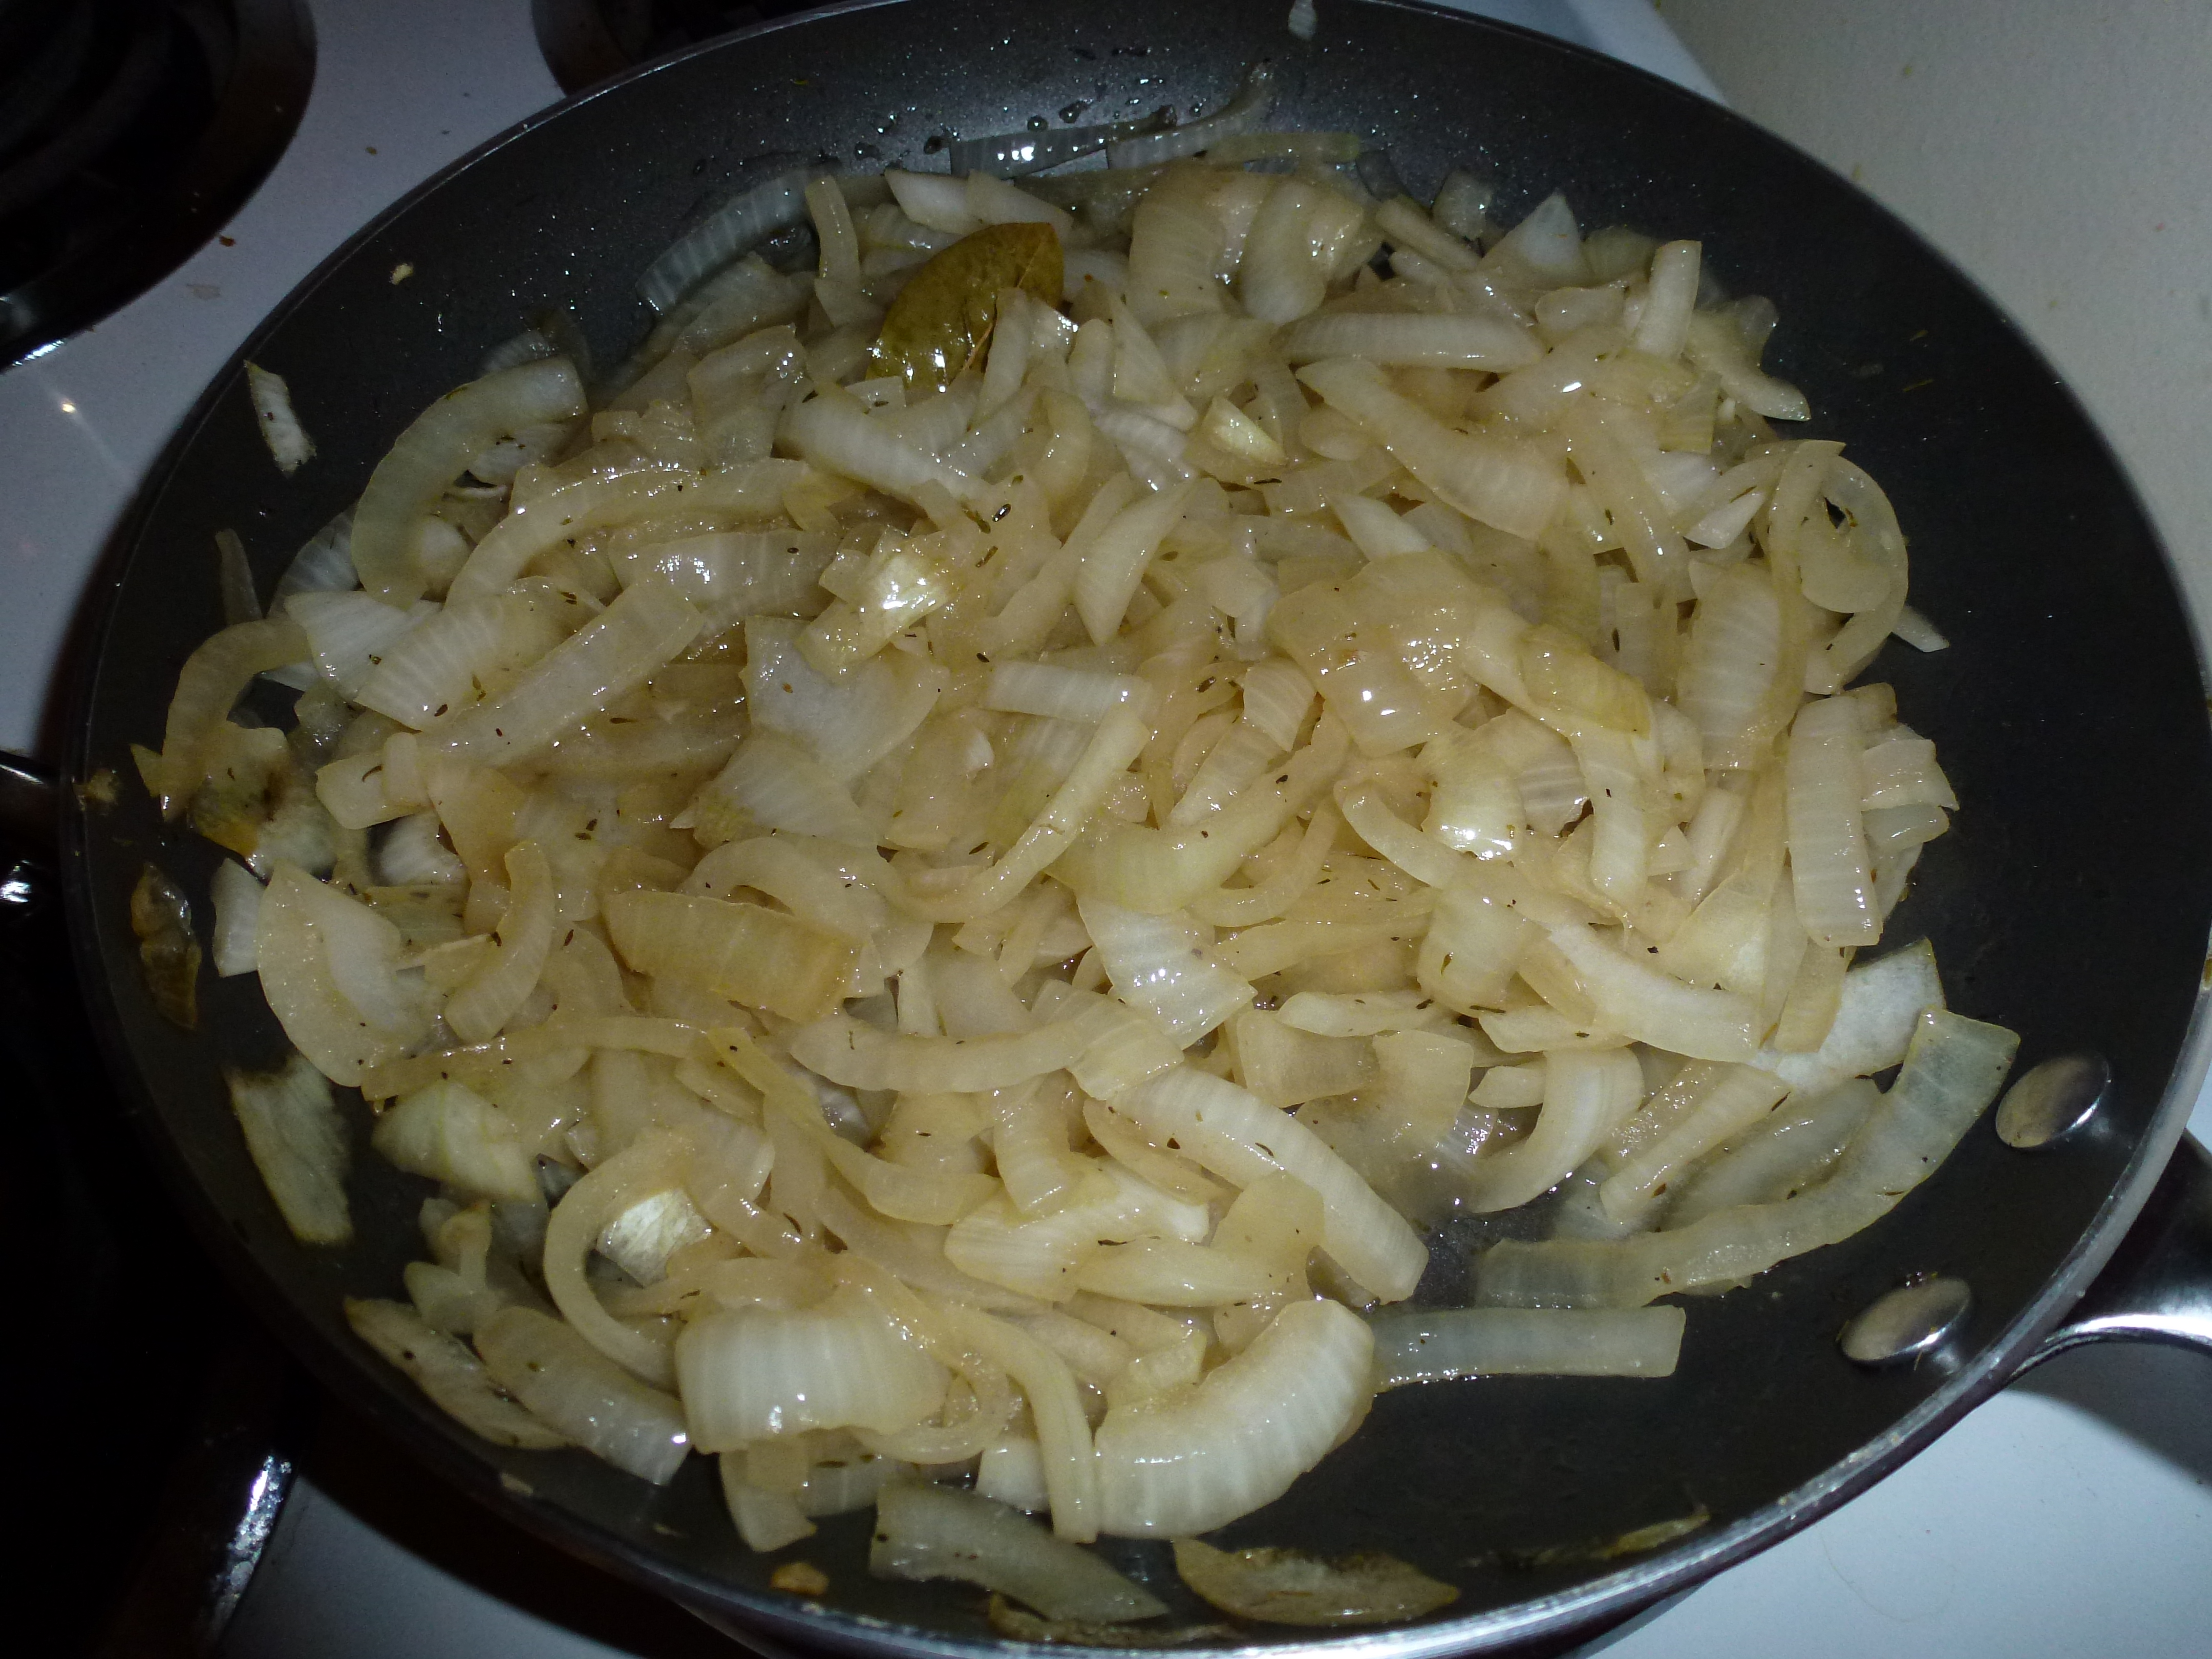
Next, add 1 tablespoon Worcestershire sauce, 1/4 teaspoon dried thyme, 1 big bay leaf or 2 small ones, and 1 teaspoon sugar.

215

Finally, pour in 1/2 cup beef broth. Turn the heat up to high and bring the broth up to a boil. Then bring the heat back down to medium and let the onions cook, stirring occasionally. I cooked mine for about 30 minutes.

216

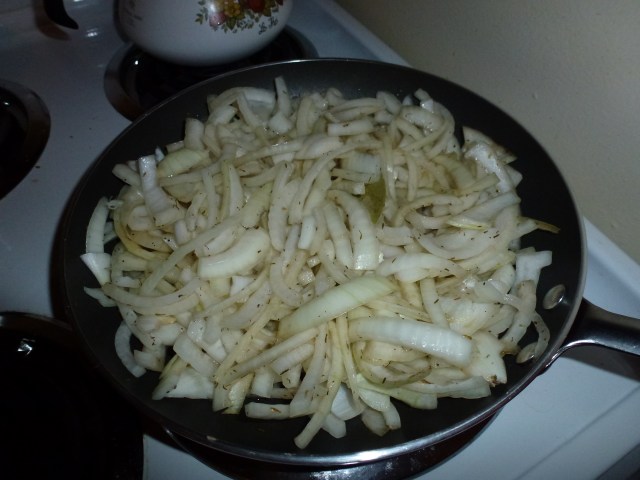
My best advice for cooking these onions is to leave them alone! Stir them occasionally to make sure they don’t get stuck to the skillet, but other than that just let them do their thing.

218

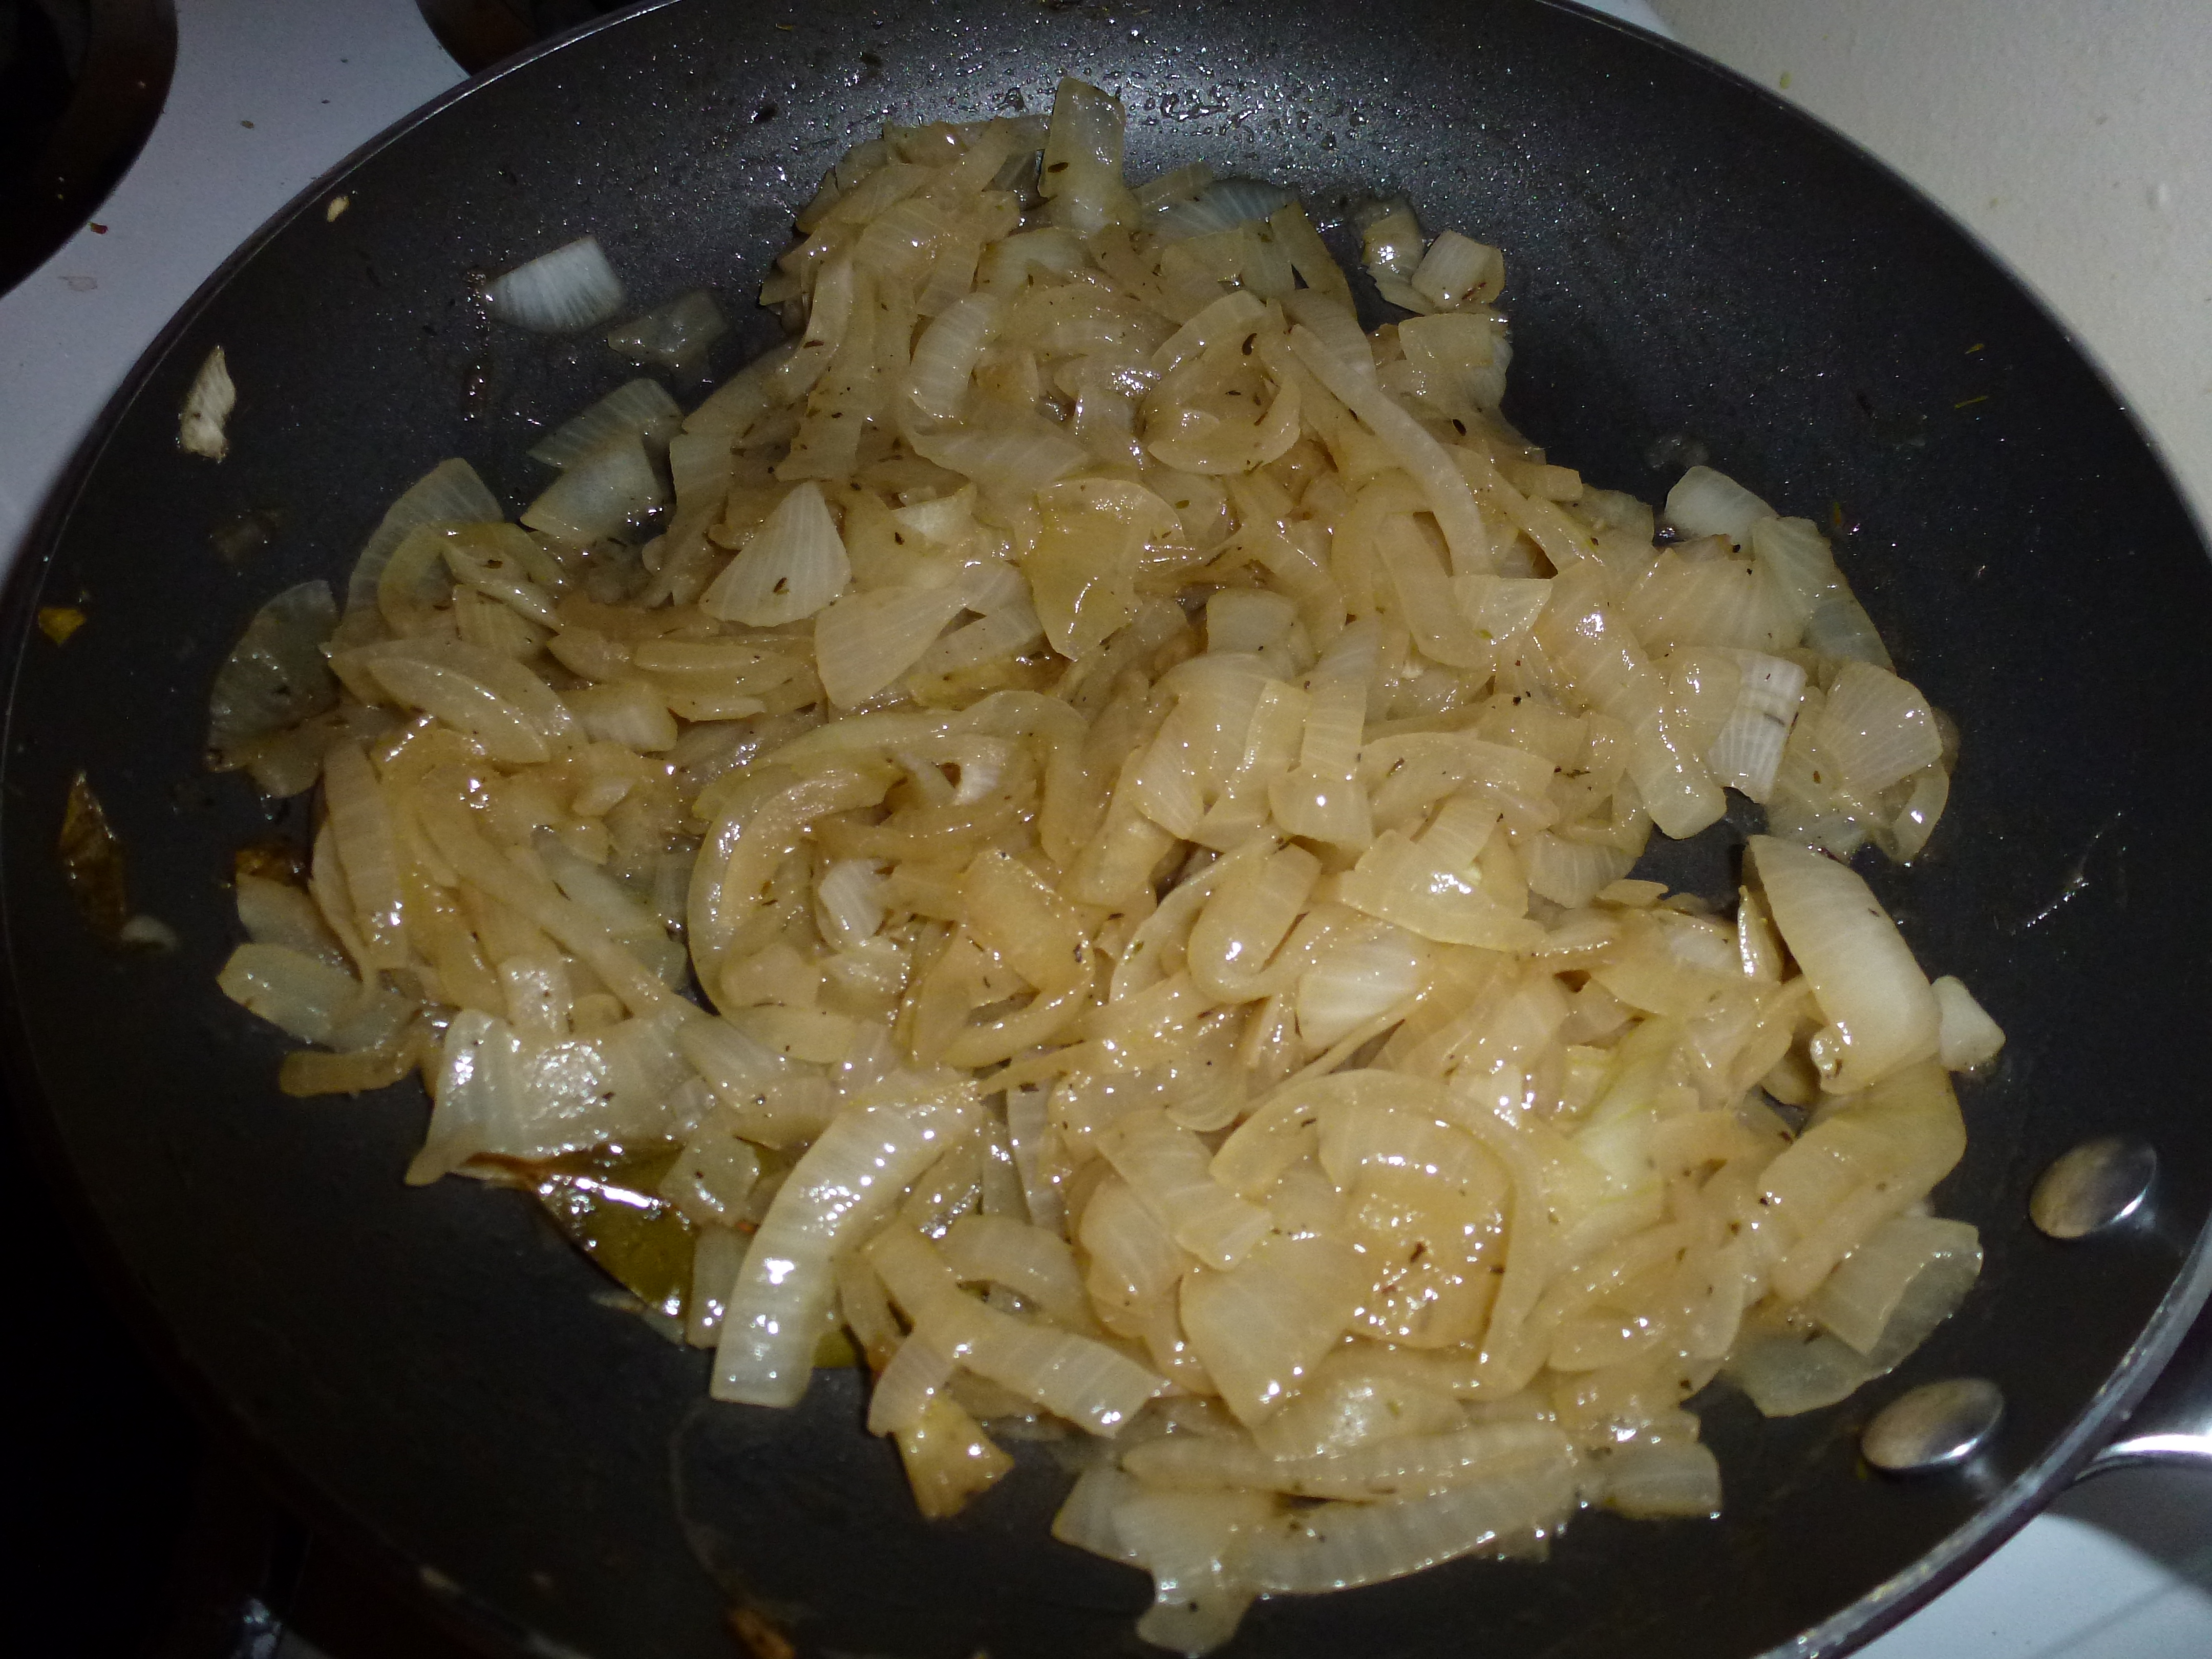
Let them get really soft and dark brown. A little more…

220

Once the onions are soft enough, turn off the heat and let them cool down.

222

In a bowl, mix the cool onions with 1 cup finely grated gruyere cheese.

225

Now that the filling is done, get your potsticker station ready. You’ll need a package of wonton wrappers, a clean surface, a small bowl of water, and a wax paper-lined baking sheet.

223

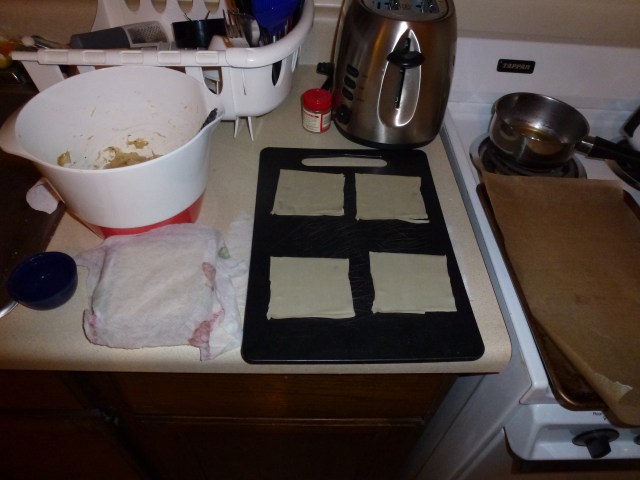
Cover your wonton wrappers with a squeezed out wet paper towel so that they don’t dry out while you are working. You won’t use all the wrappers for this recipe, so you can freeze the wrappers for later or use them for other recipes – they work really well to make ravioli!

224

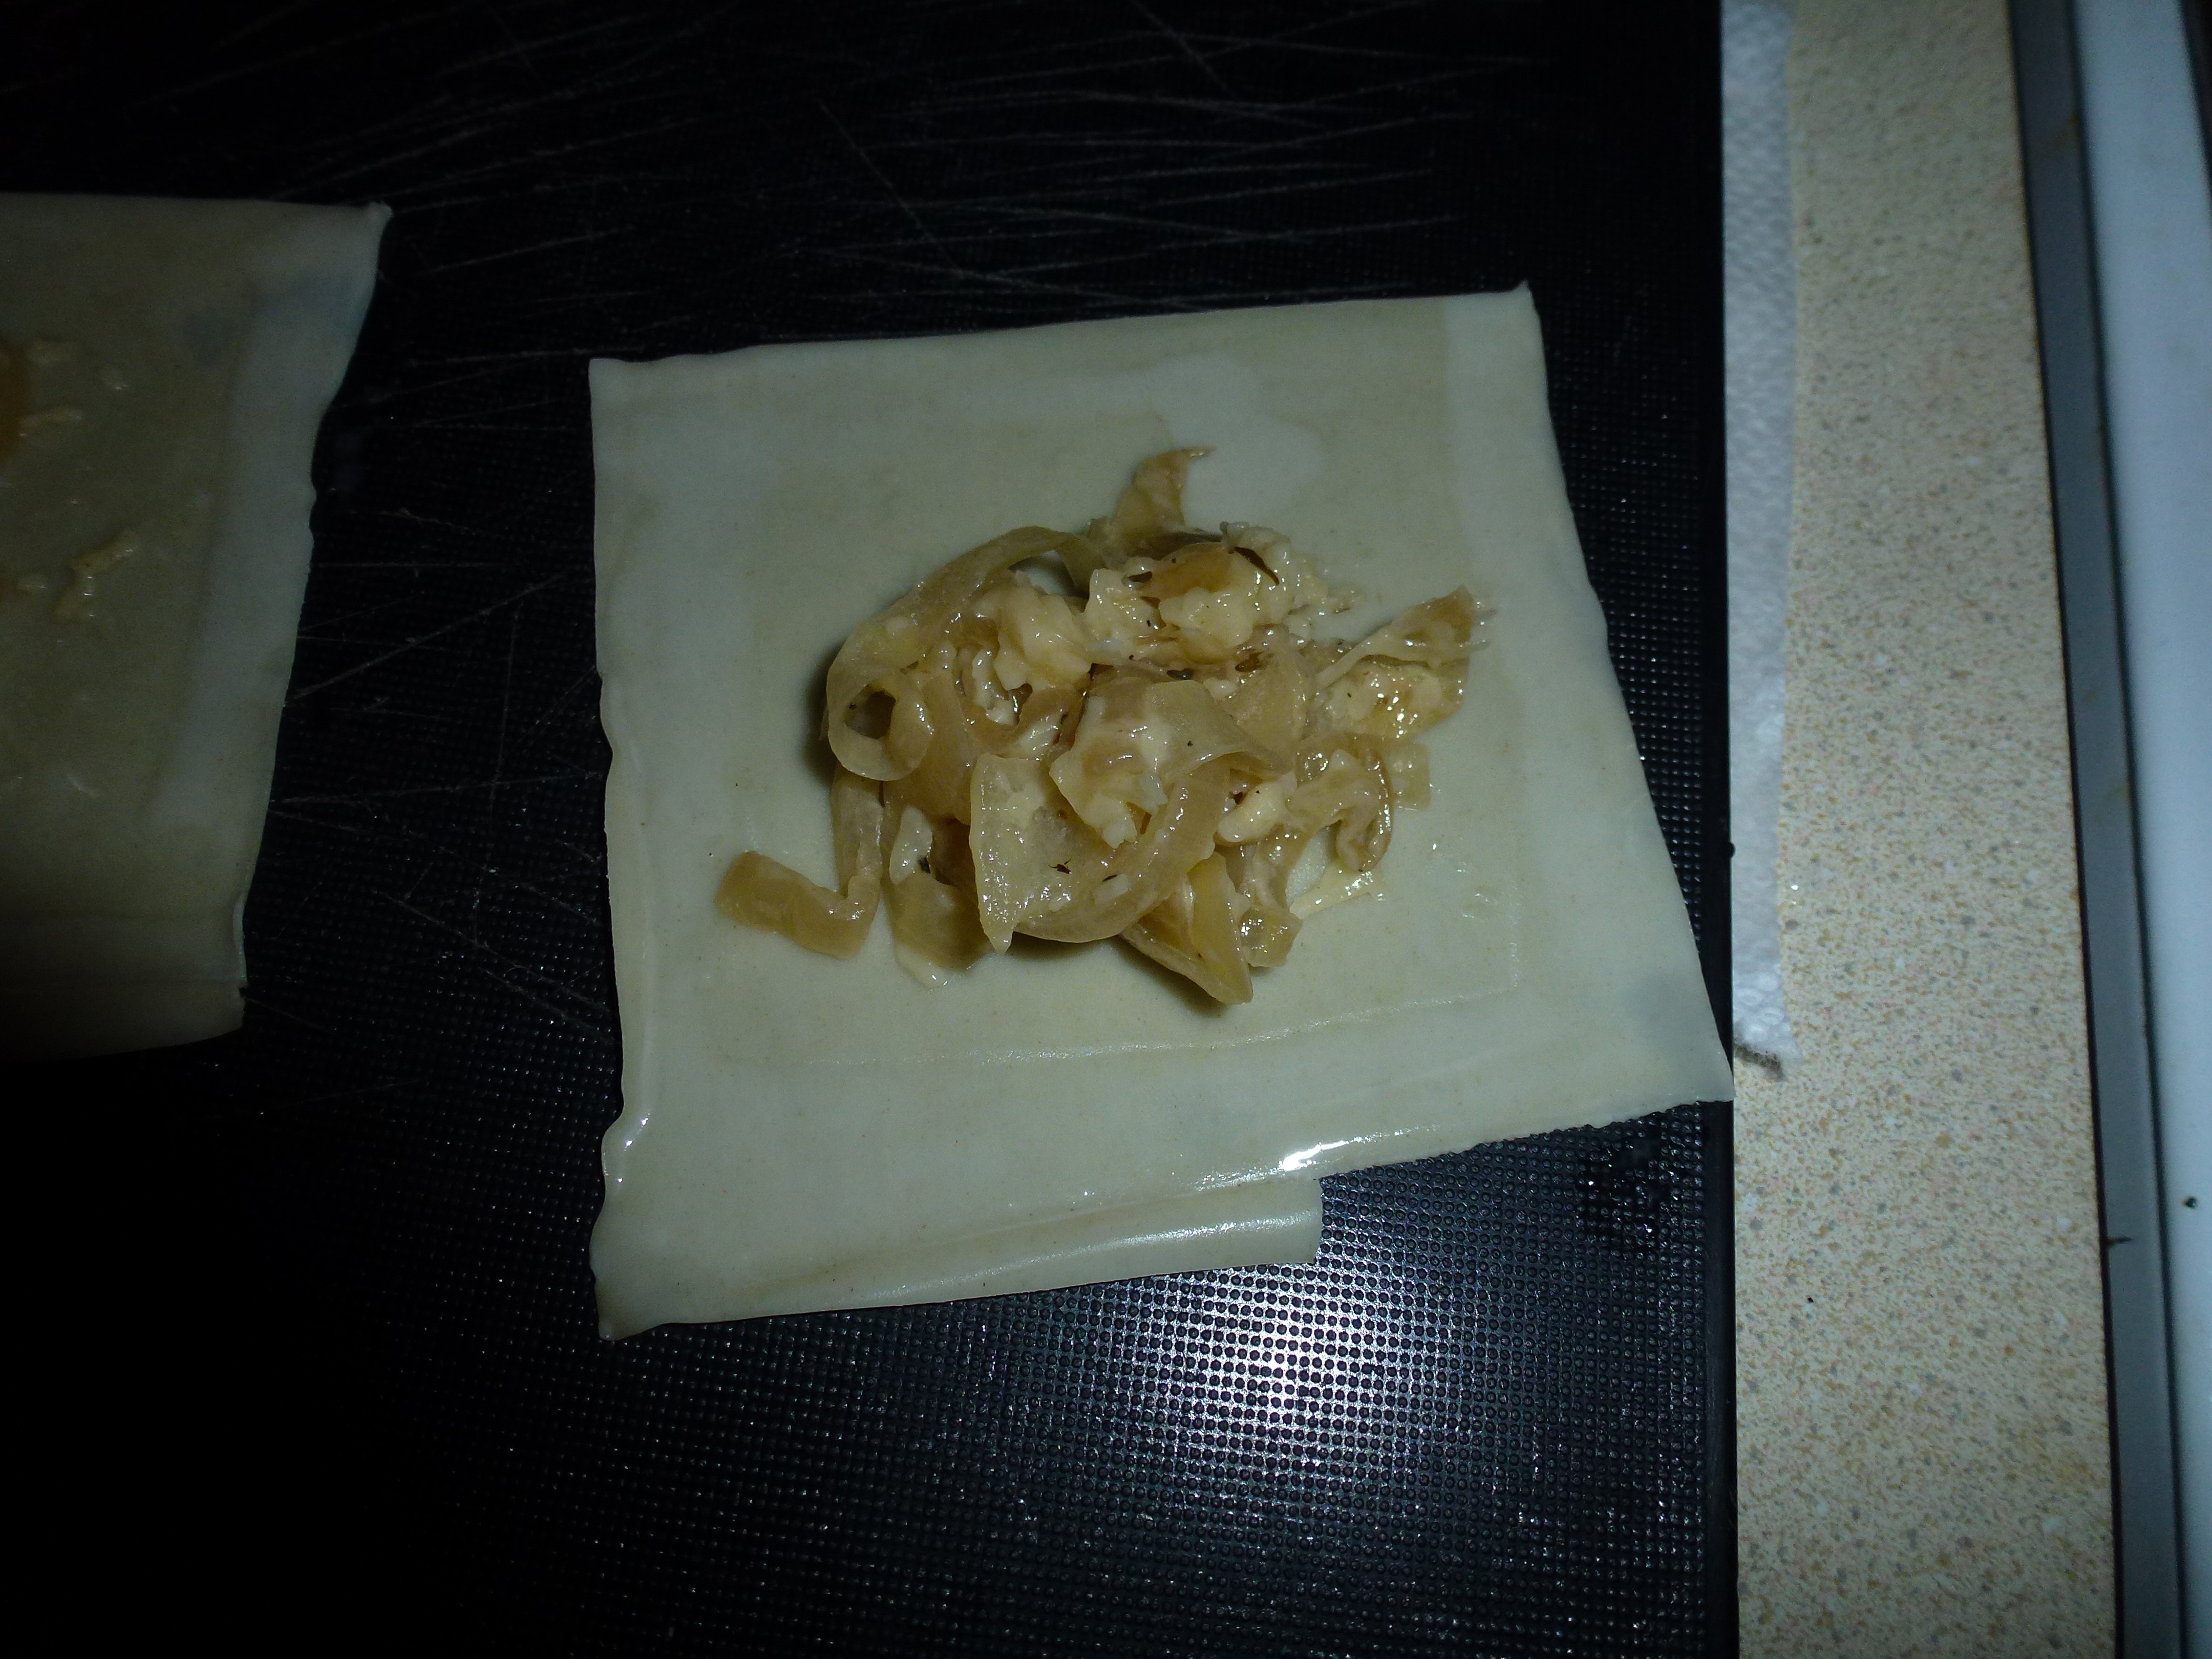
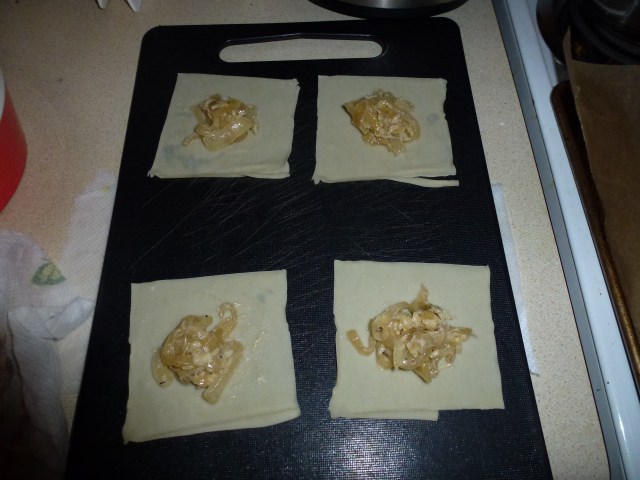
Lay out 4 wontons and place 1 tablespoon of the onion filling onto each one.
226

Wet your finger in the bowl of water, then use it to wet each edge of the wonton wrappers.

228

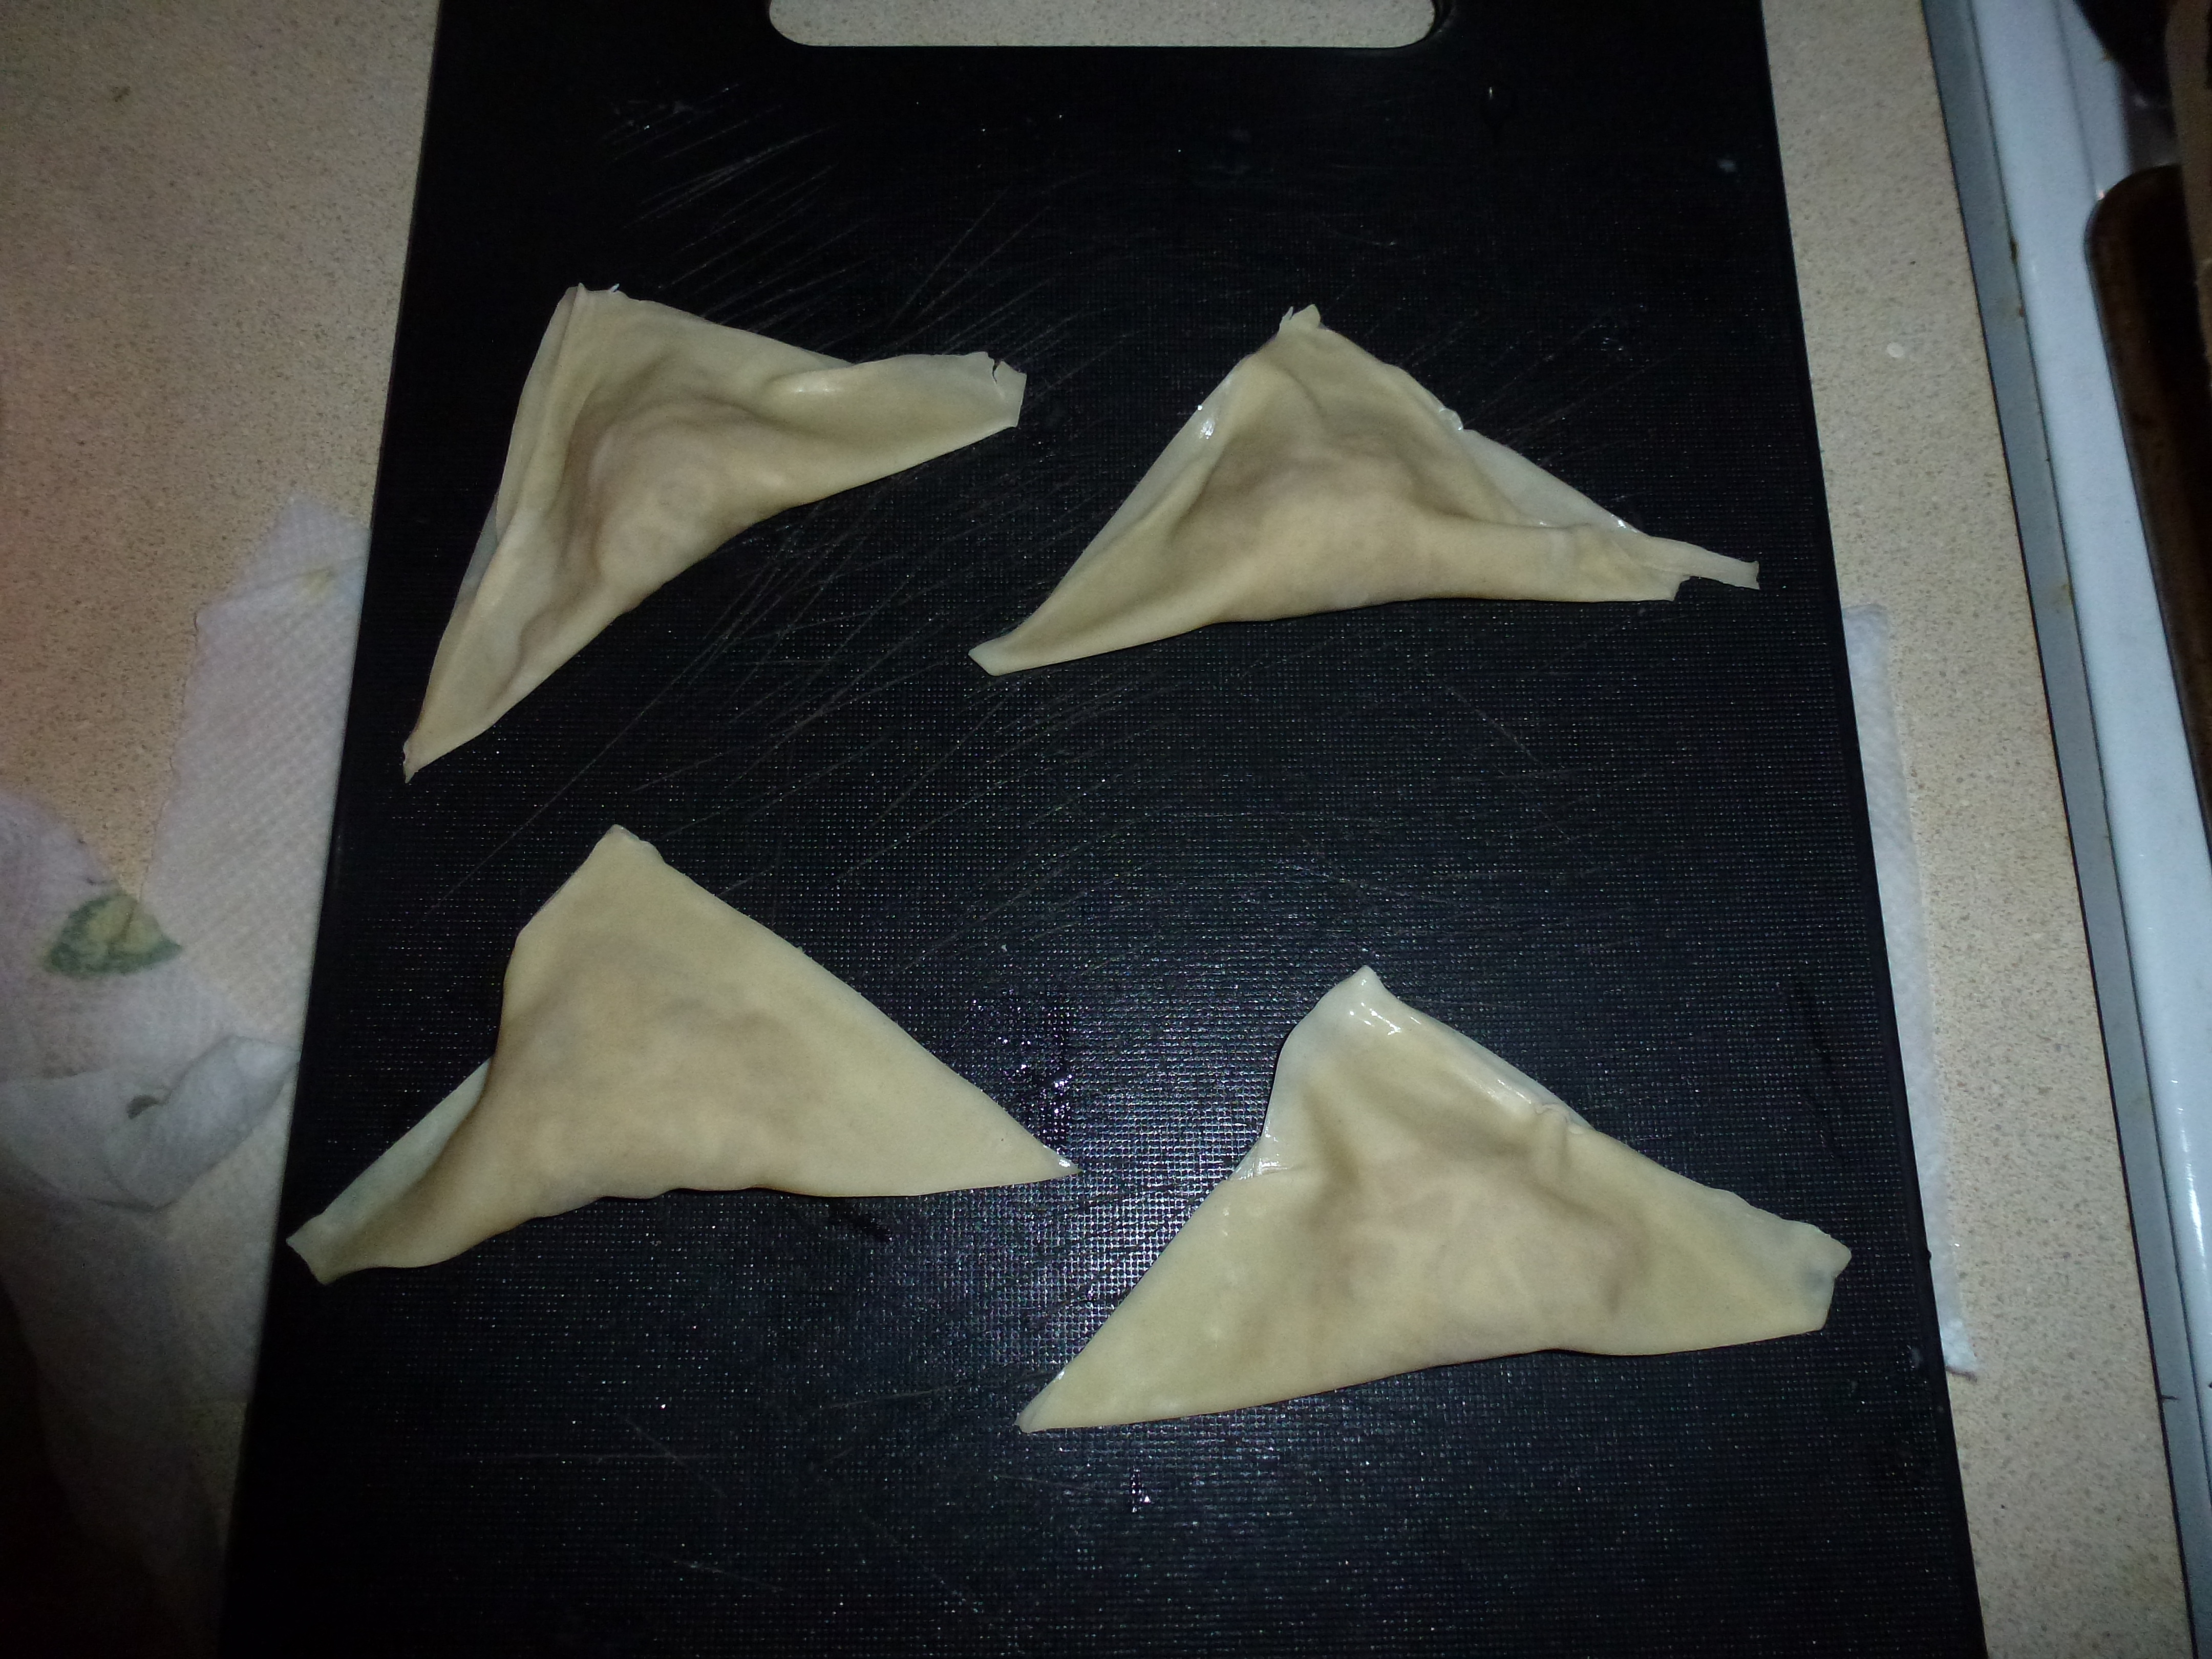
Take 1 corner of the wrapper and fold it up to meet the opposite corner. Press the edges tightly to seal the potsticker and make sure not to trap any air inside.

229

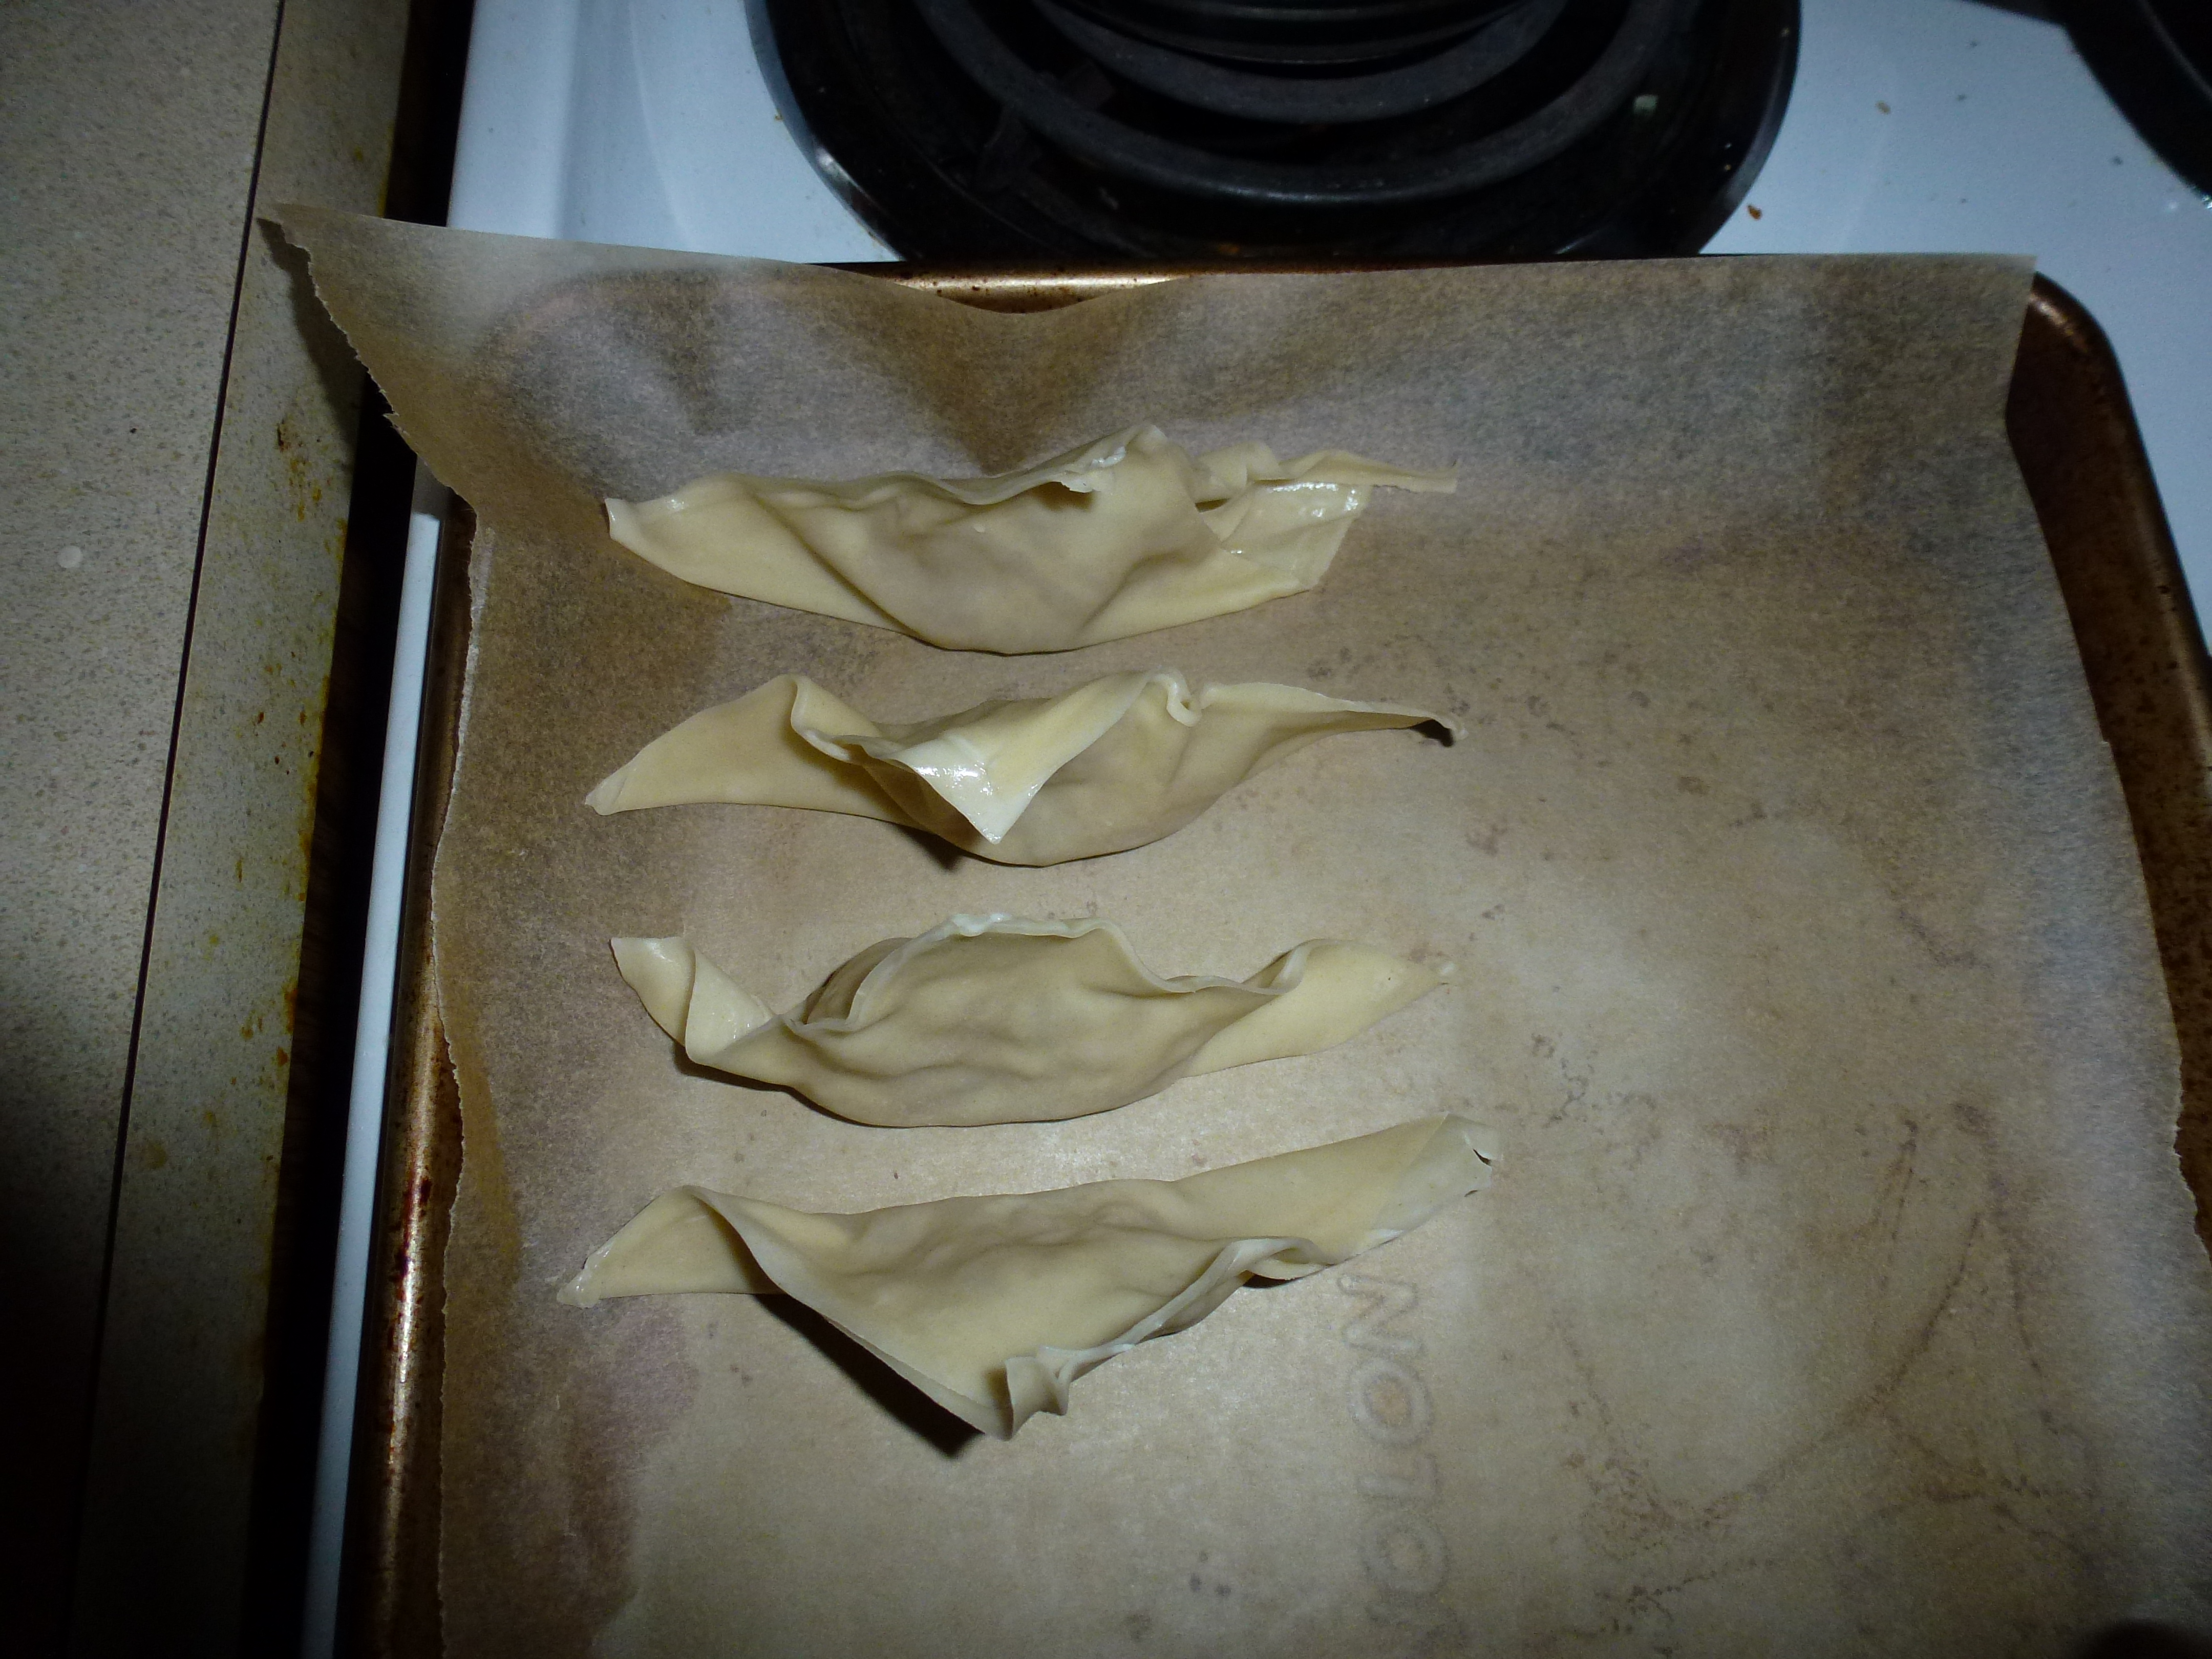
Place the completed potstickers onto the baking sheet, pressing down gently to create a flat bottom.

230

At this point, you can either freeze the potstickers for later, or cook them immediately. To freeze: place them in the freezer on the baking sheet then once they harden, transfer them into a freezer-safe bag or container. The frozen potstickers cook exactly the same as the non-frozen ones – no need to thaw!

231

To cook: In a large skillet heat 1 tablespoon vegetable oil over medium-high heat. Add potsickers into the skillet making sure not to overcrowd them so they don’t stick together.

232

Cook the potstickers until the bottoms are golden brown (about 2 minutes).

233

Next, add about 1/3 cup of water, or enough to come 1/3 the way up the potstickers. Immediately place a lid on the skillet and steam for about 2 minutes or until the potstickers are translucent and there’s just a little bit of water left.

As you can see, I do not have any lids that fit my skillets (the woes of being a twentysomething in a tiny apartment with random kitchen utensils) so I used a plate and it worked just fine.

235

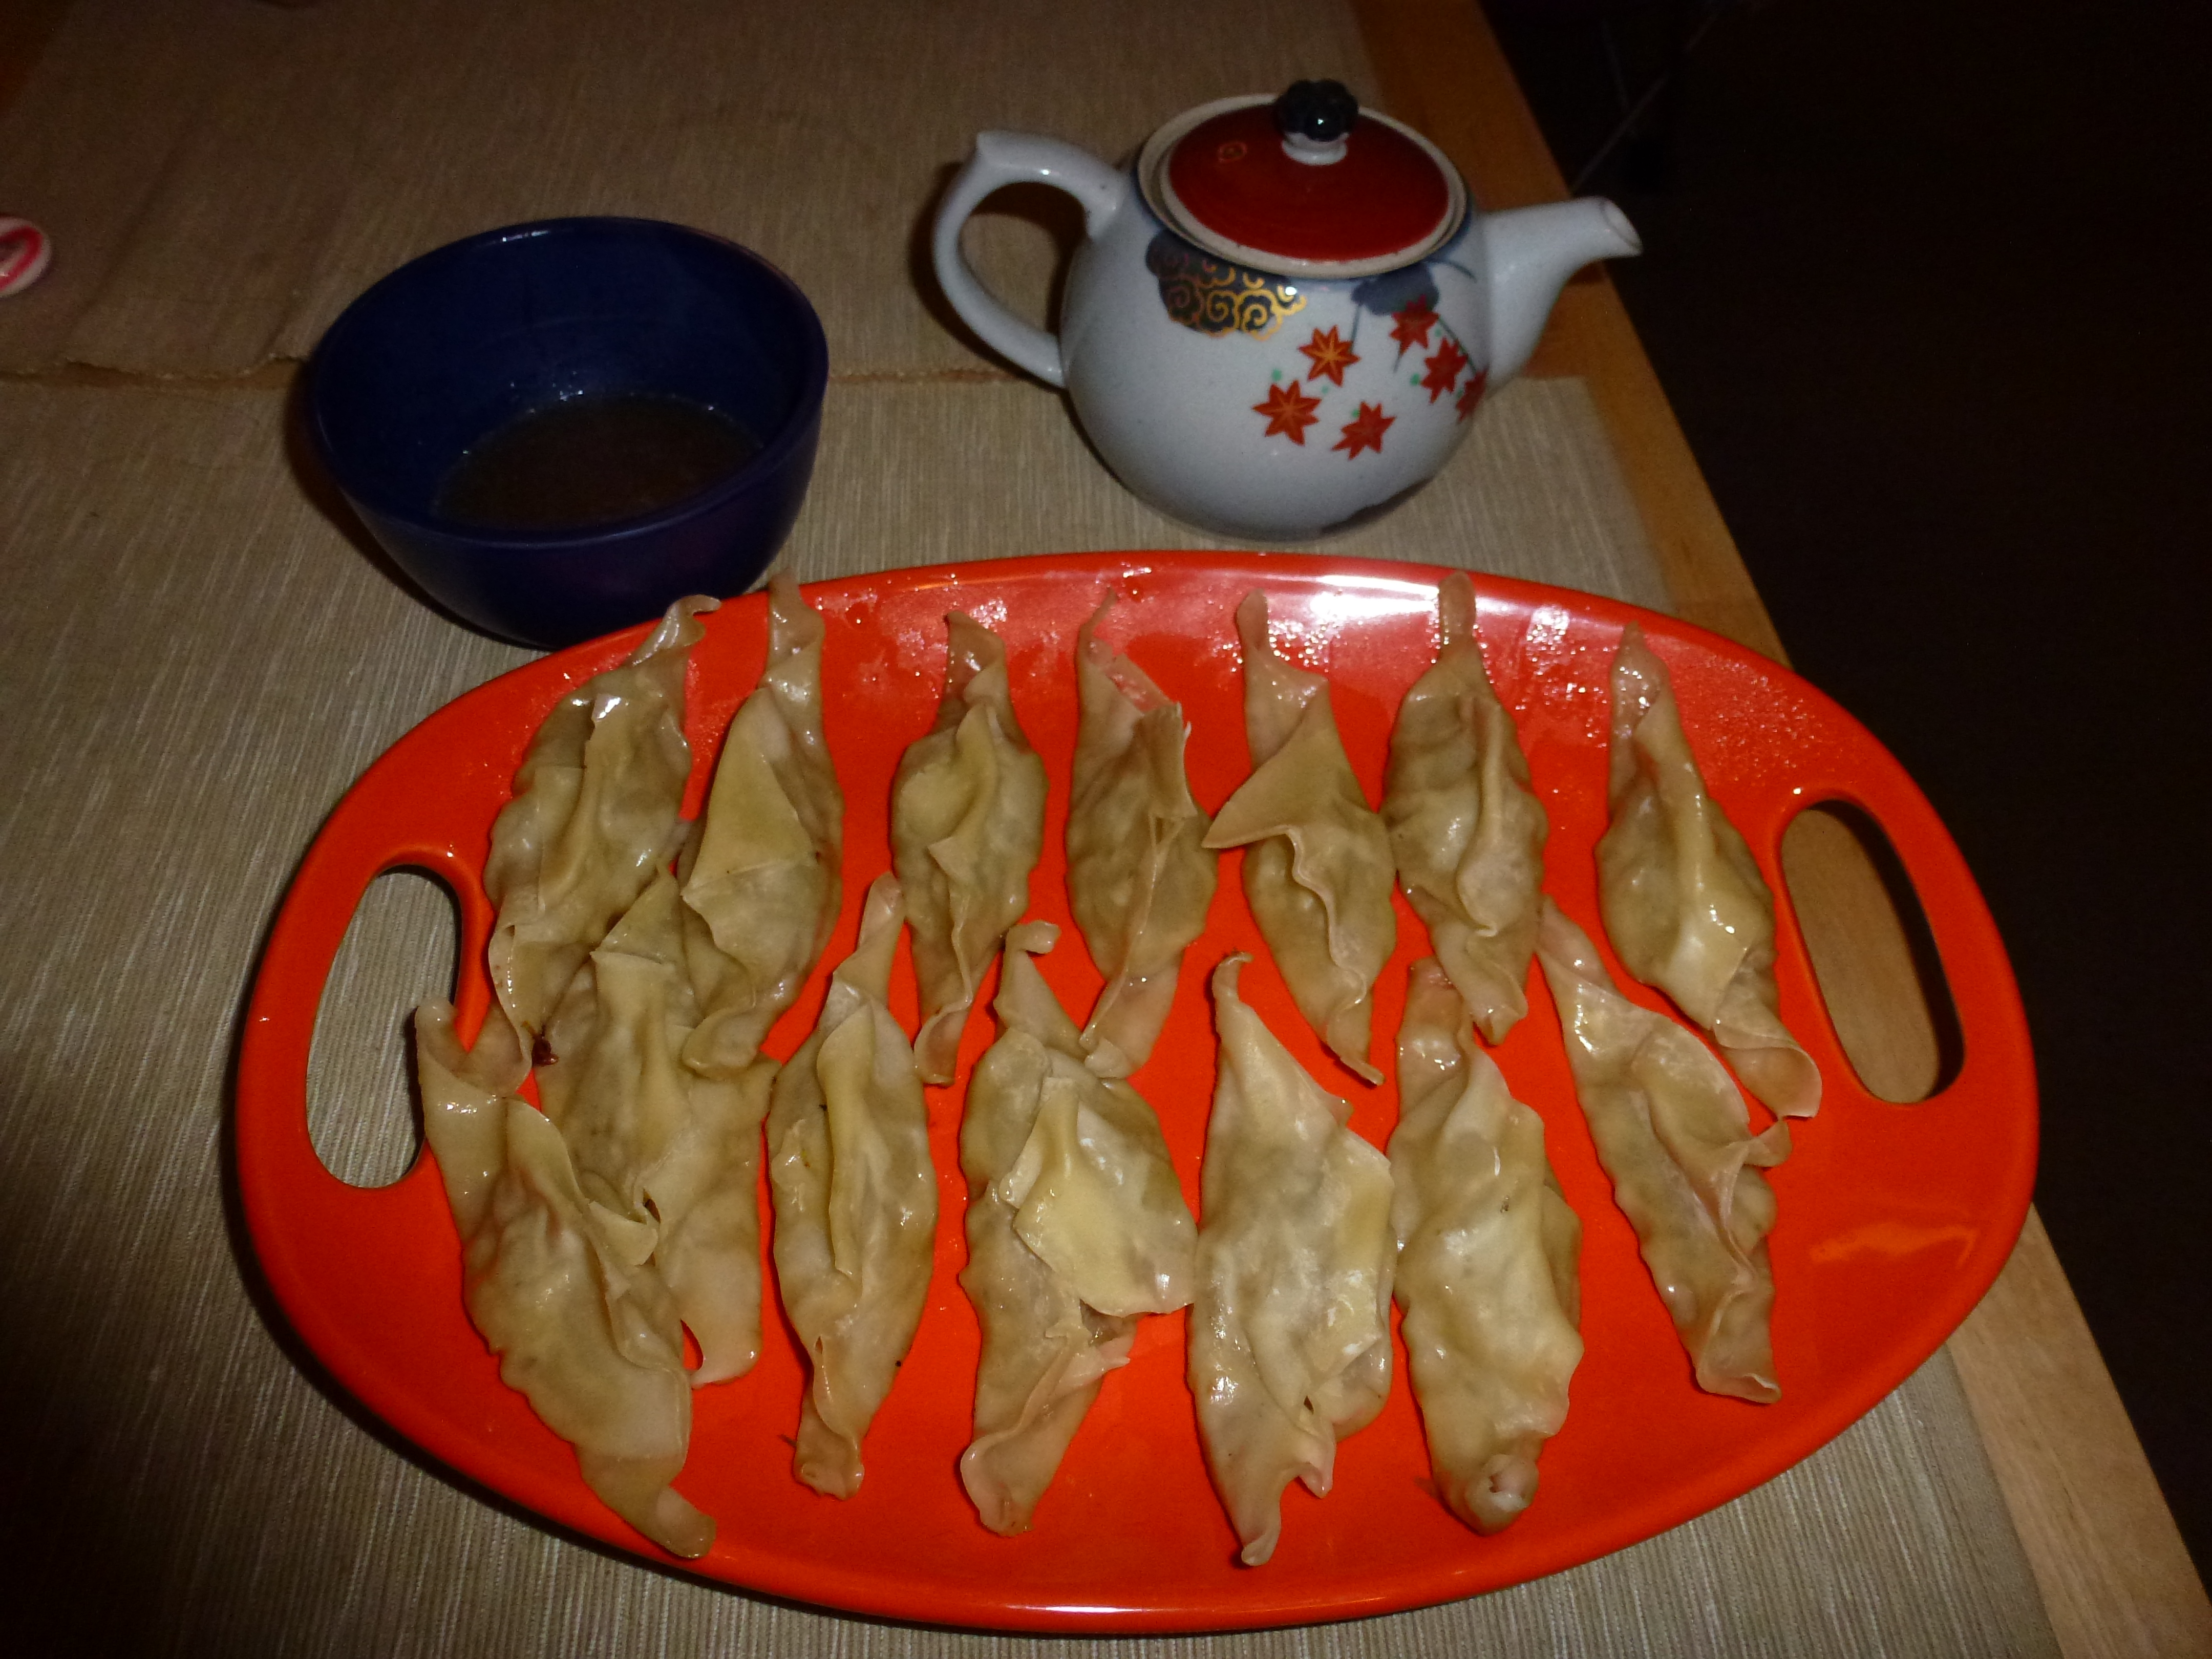
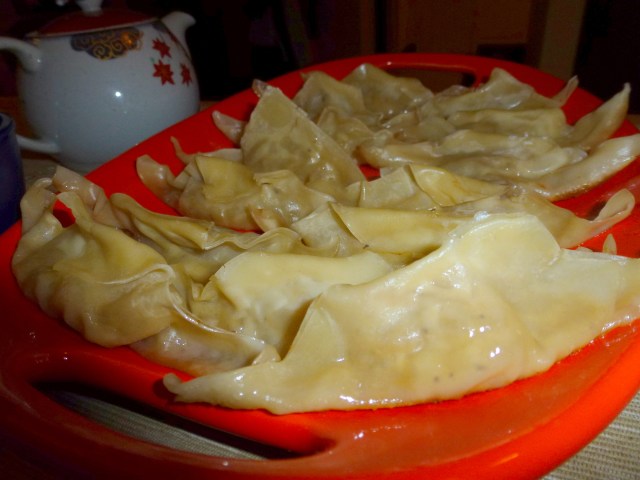
Remove the lid to let all the water cook out and let the bottoms of the potstickers crisp back up. About 30 seconds. Remove the potstickers with a spatula and heat up the “au jus” dipping sauce – 1/2 cup beef broth, 1 teaspoon worcesterchire sauce, a dash of garlic powder and a sprinkle of salt.

Don’t they look delicious?

236

238   242

The nice thing about this recipe is that the potstickers freeze well so you can freeze them and use them for a quick dinner later. You don’t even need to thaw them to cook them – just pop ’em right into the pan frozen. So convenient!

240
French Onion Soup Potstickers 
Recipe adapted from iowagirleats – this girl is a recipe genius!

Ingredients: 
1 jumbo sweet onion or 2 smaller ones, cut into quarters then thinly sliced
1 Tablespoon butter
1 Tablespoon extra virgin olive oil
dash of salt & pepper
1 Tablespoon Worcestershire sauce
1/4 teaspoon dried thyme
2 small dried bay leafs (or 1 big one)
1 teaspoon sugar
1/2 cup beef broth
1/2 cup finely shredded gruyere cheese
1 package wonton wrappers
vegetable oil

For the Au Jus Dipping Sauce:
1/2 cup beef broth
1 teaspoon Worcestershire sauce
dash garlic powder
salt to taste

Directions: 

  1. Heat butter and oil in a large skillet over medium heat. Add onion slices and season with salt and pepper, then add Worcestershire sauce, dried thyme, bay leaves, sugar, and beef broth to the skillet and stir well. Turn heat up to high, bring broth to a boil, then turn back down to medium heat.
  2. Cook onions, stirring occasionally, until very soft and dark brown. About 30 minutes. Turn off the heat and let the onions cool, then place into a bowl and mix with gruyere cheese.
  3. Lay 4 wonton wrappers out on a clean, dry surface, then place 1 Tablespoon onion mixture into the center of each wrapper. Wet all four sides with a pastry brush or your finger, then fold the bottom right-hand corner up the top left-hand corner and seal the edges, being careful to remove all air pockets. Transfer potsticker to a wax paper-lined baking sheet and press down gently to create a flat bottom. Repeat with remaining wrappers and filling.
  4. To freeze: Place baking sheet into the freezer until potstickers are frozen solid. Transfer to a freezer-safe container or bag. When ready to eat, cook the same way as fresh.
  5. To cook: Heat 1 teaspoon vegetable oil in a medium-sized skillet. Place potstickers, being careful not to crowd, into the skillet, getting oil on the bottom of each potsticker. Cook until golden brown on the bottom, then add enough water to come 1/3 of the way up the potstickers. Place a lid on top and let the potstickers steam for 2-3 minutes.
  6. When there are just a couple Tablespoons of water left in the skillet, remove the lid and allow the water to cook out and the potsticker bottoms to crisp back up. Use a spatula to gently unstick the wrappers from the skillet and serve with Au Jus dipping sauce (heat ingredients in a small saucepan or in the microwave.)

239

Posted in Asian Inspired Food, Dinner, Lunch | Tagged , , , | 2 Comments